Sheet Metal Repair 101
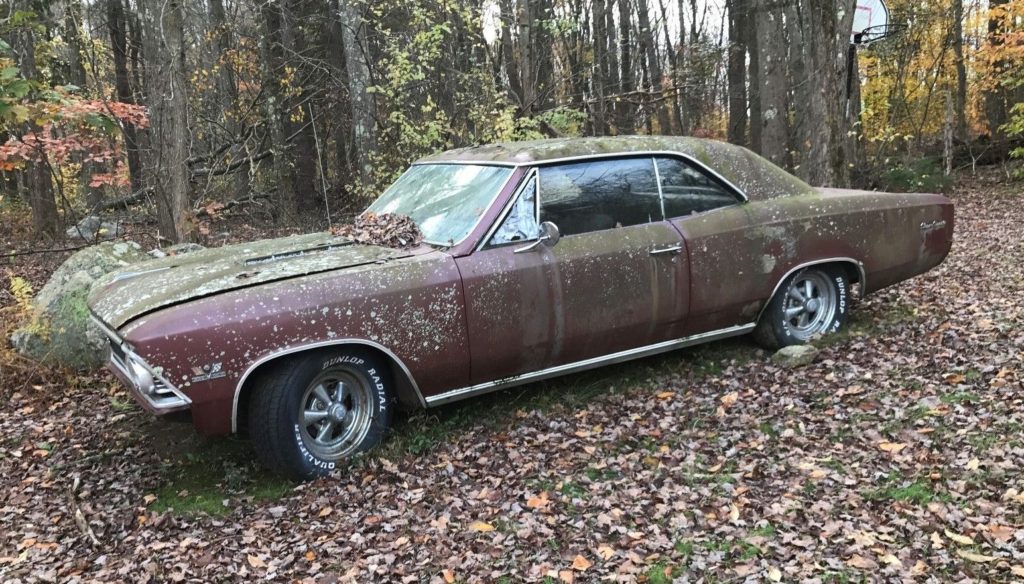
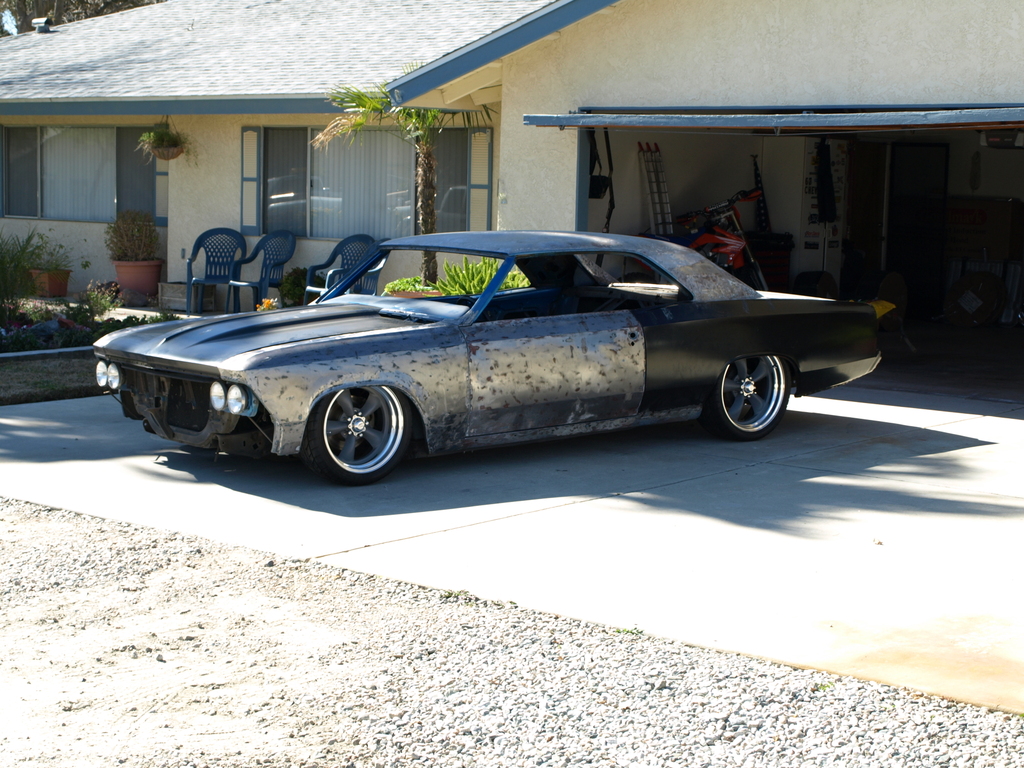
RUST – a dirty, four-letter word that we all hate. Unfortunately for our classic cars, the sheet metal is prone to rust. Fixing rusty sheet metal is often one of the biggest hurdles when restoring a classic car. We hope to show you what’s involved with prepping your sheet metal for repairs and paint – but this isn’t a step-by-step guide. It’s to show you what’s involved so you can decide what route you want to go.
On top of rust, after 50+ years our beloved classics can see lots of dents, scratches, crashes, or anything else to the sheet metal. The easy solution is to fix and/or replace the sheet metal! Luckily we have just about any piece of sheet metal your classic Chevelle, Nova, or Camaro could need.
One thing to remember though is that the fit and finish on these cars from the factory was never perfect. Add in 50 years of bumpy roads, sitting, and now the panels are going to be even more out of alignment. One question we see regularly is why don’t new pieces fit perfectly and that’s one reason why. We strive to have the best reproduction parts possible available, but even then sometimes they aren’t perfect and get bolted to a car that isn’t perfect.
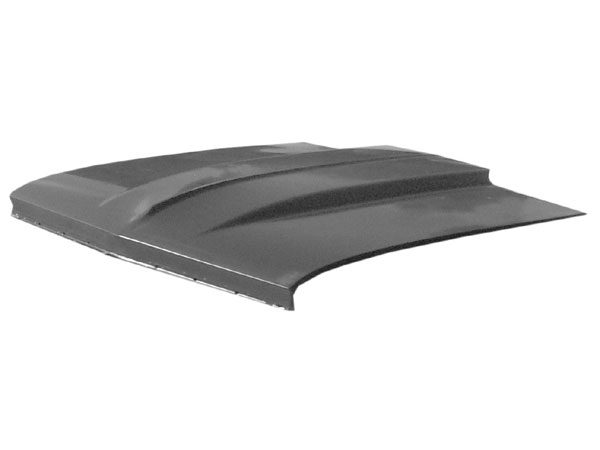
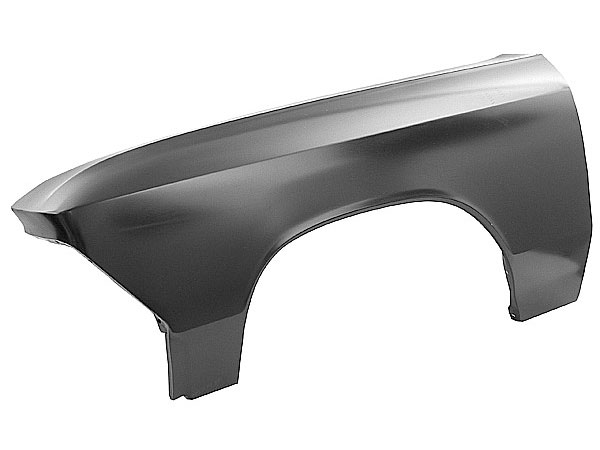
Whether or not you repair or replace the sheet metal is up to you – your skill level, patience, and budget. If it’s a fender, door, hood, etc. sometimes it’s cheaper and easier to just unbolt the rusty or bent piece and bolt on a new one.
Bolting-On Sheet Metal
If you’re bolting on new pieces, there isn’t much to prep. Generally speaking, you just bolt it on and you’re done. However, you might need to add some shims and get the sheet metal part adjusted properly. For those who are perfectionists, they will weld, add metal, grind and massage the new piece to ensure equal gaps all over.
Prepping to weld in a replacement piece involves more work and more skill. If you’re not handy with a welder and sheet metal fabrication, this might be the time to outsource this type of work. A new piece of sheet metal that’s been installed incorrectly can cause lots of problems later with fitment, warping, or even coming apart.
Weld-In Sheet Metal Repair
Generally speaking, you want to cut away all the rust then replace that with new sheet metal. There’s several different ways to accomplish this and not necessarily a right or wrong way, just different. For example if you have rust in the wheel well and behind the rear wheel well, you could buy patches and replace those patch pieces. The other method which is a little more intrusive but can actually be less work is to replace the entire quarter panel instead.
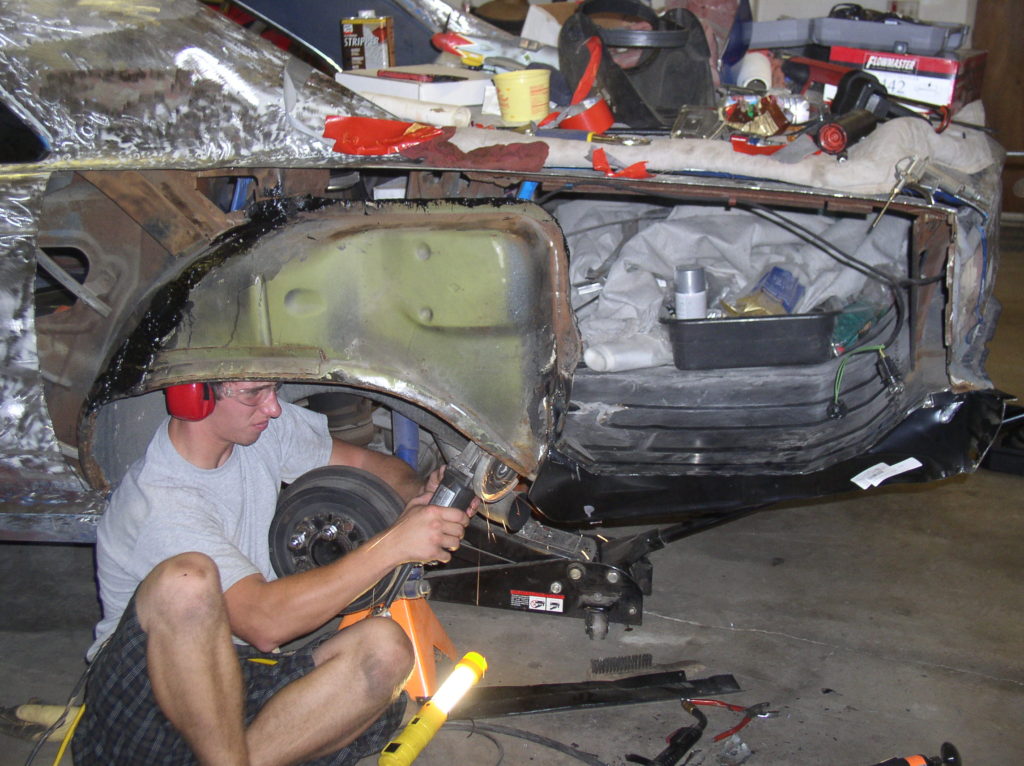
If you have the skills or want to attempt it, there are a few things you should do. First, ensure that all the rust is removed. The second is to test fit the panel. This can require putting it on and off multiple if not dozens of times. This is definitely a case of measure three times, cut once. Even when you do get things trimmed perfectly, only add a few tack welds and recheck. It’s much easier to cut away a couple of tack welds instead of full welds.
Before you go welding it all up, you’ll want to make sure your mounting surfaces are perfectly clean, bare metal. This means grinding and sanding to ensure a clean weld that will hold forever and look great.
Once you have everything cleaned up, trimmed, and tacked into place don’t start laying down large beads of a weld. This will easily overheat the sheet metal and cause warping issues. The trick is to lay down 1/2″ to 1″ of weld, then move to a different part of the panel. Or take a break and come back to it later. This is a marathon, not a sprint.
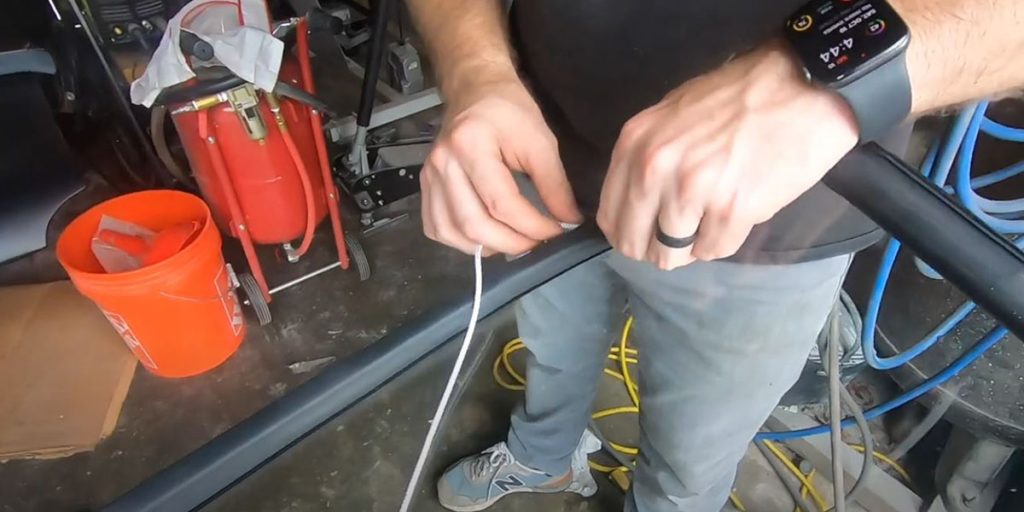
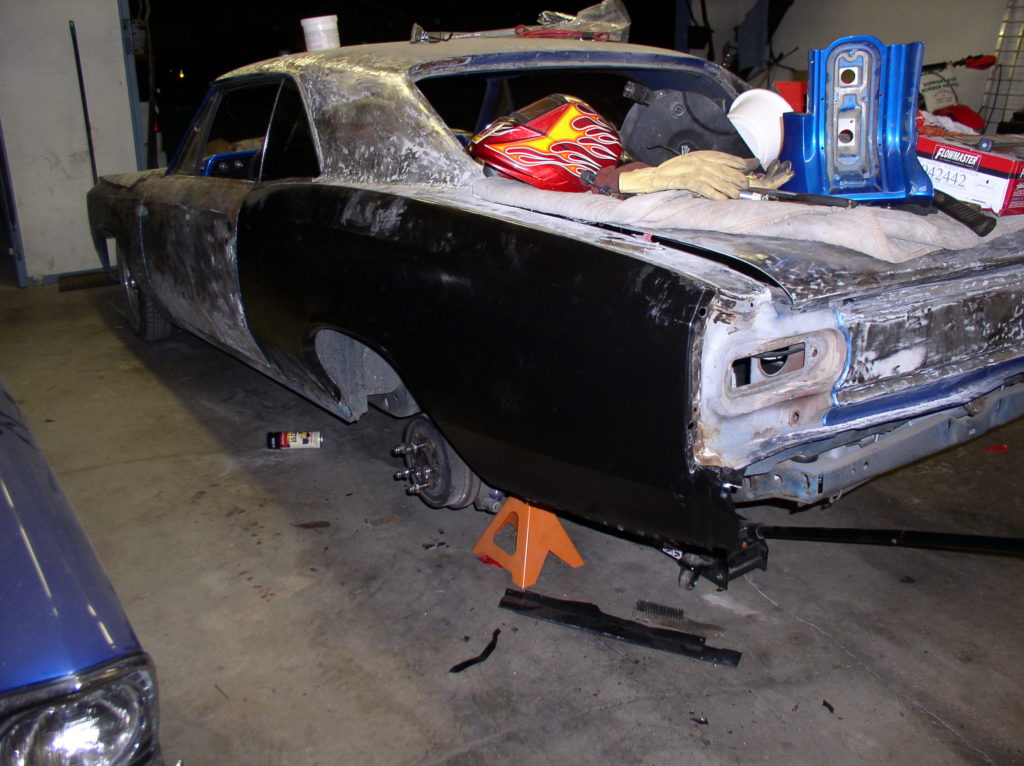
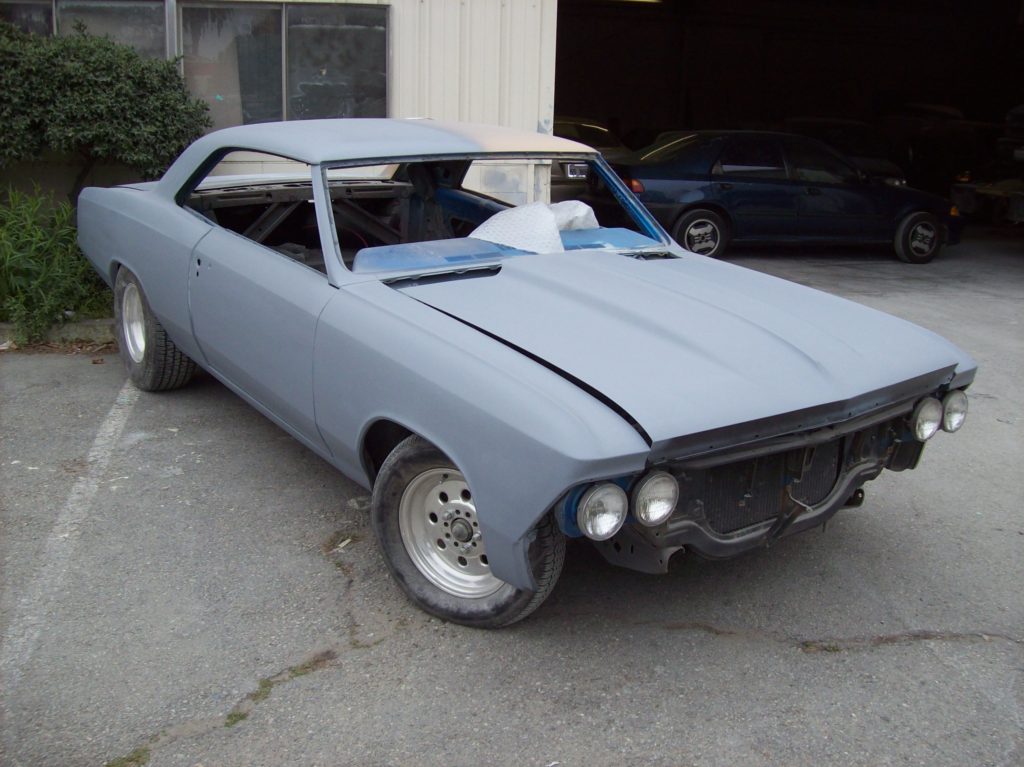
Prepping For Paint
Once the panels are bolted or welded on, the time comes to prepare them for paint. Get ready to sand, sand, sand. The first step is to remove any paint or dirt from the panels. This can be accomplished with sanding, sandblasting, or chemical paint strippers.
With the sheet metal completely clean and bare, it’s time to spray down a layer of primer. This will seal the metal and bond to the metal. Now in a perfect world, you could start spraying paint down on top of the primer. However, that’s never the case and cars will always need filler to smooth out imperfections.
Some painters will apply a thin coat of filler AKA Bondo all over the car at this point, then start sanding down with sanding blocks to reveal the high and low spots. Others will spray down a guide coat, then sand with sanding blocks. Again there’s not necessarily a right or wrong way to do this – it’s your preference. The goal though is to apply Bondo in all the low areas so the end result is a perfectly smooth panel.
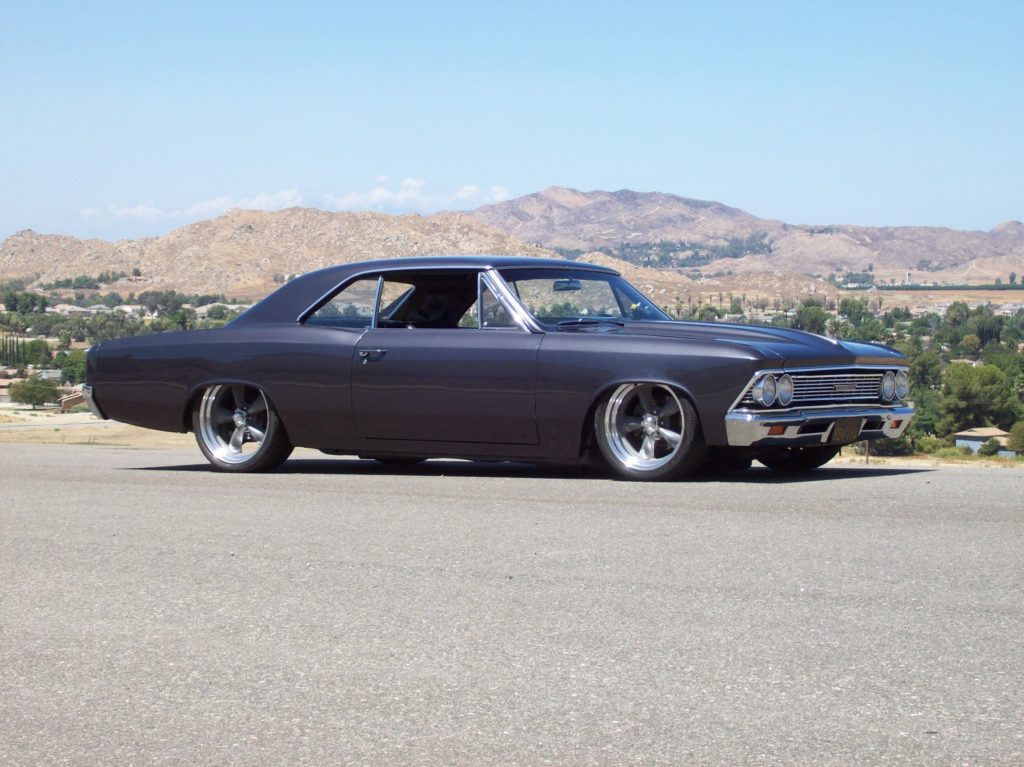
This can and does take multiple attempts. Remember it’s a marathon, not a sprint. Take your time and make sure to get it right. Any imperfection in this step will show up in the paint. With all this done, your sheet metal is officially prepped and ready for paint! This is a basic overview of the process – if you have more questions please give one of our friendly techs a call at (203) 235-1200