Replacing Your Turn Signal Switch
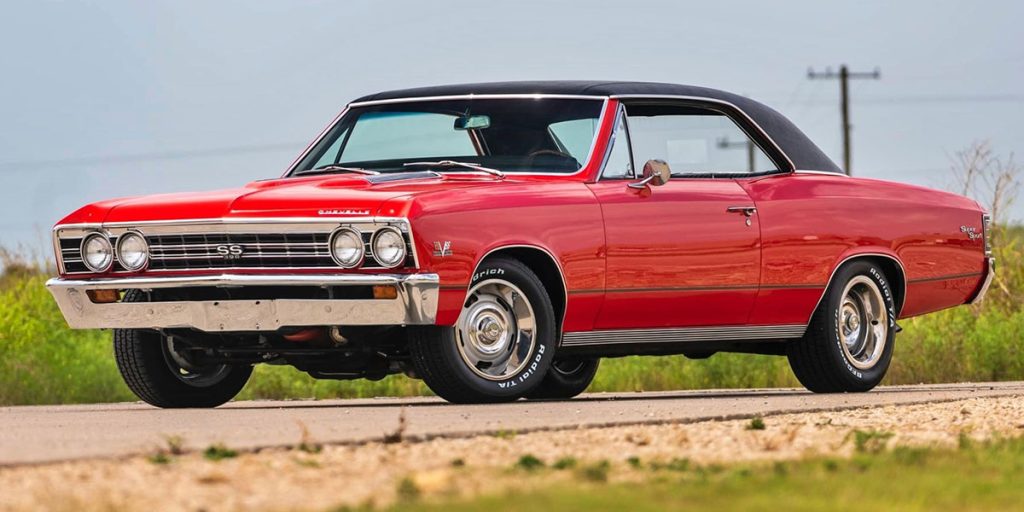
Replacing your turn signal switch doesn’t have to be a hard job! These switches are made of plastic and after years of work, they tend to break. Not having working signals not only is illegal, but it’s very unsafe! The last thing you want is for somebody to hit your pride and joy because they didn’t realize you were turning.
The process to replace your broken turn signal switch is pretty easy. Getting to the switch differs if you have an earlier column that doesn’t have the key in the column or tilt options. If you have a tilt column and a key in the column it gets a little more complex but it’s still not a bad job.
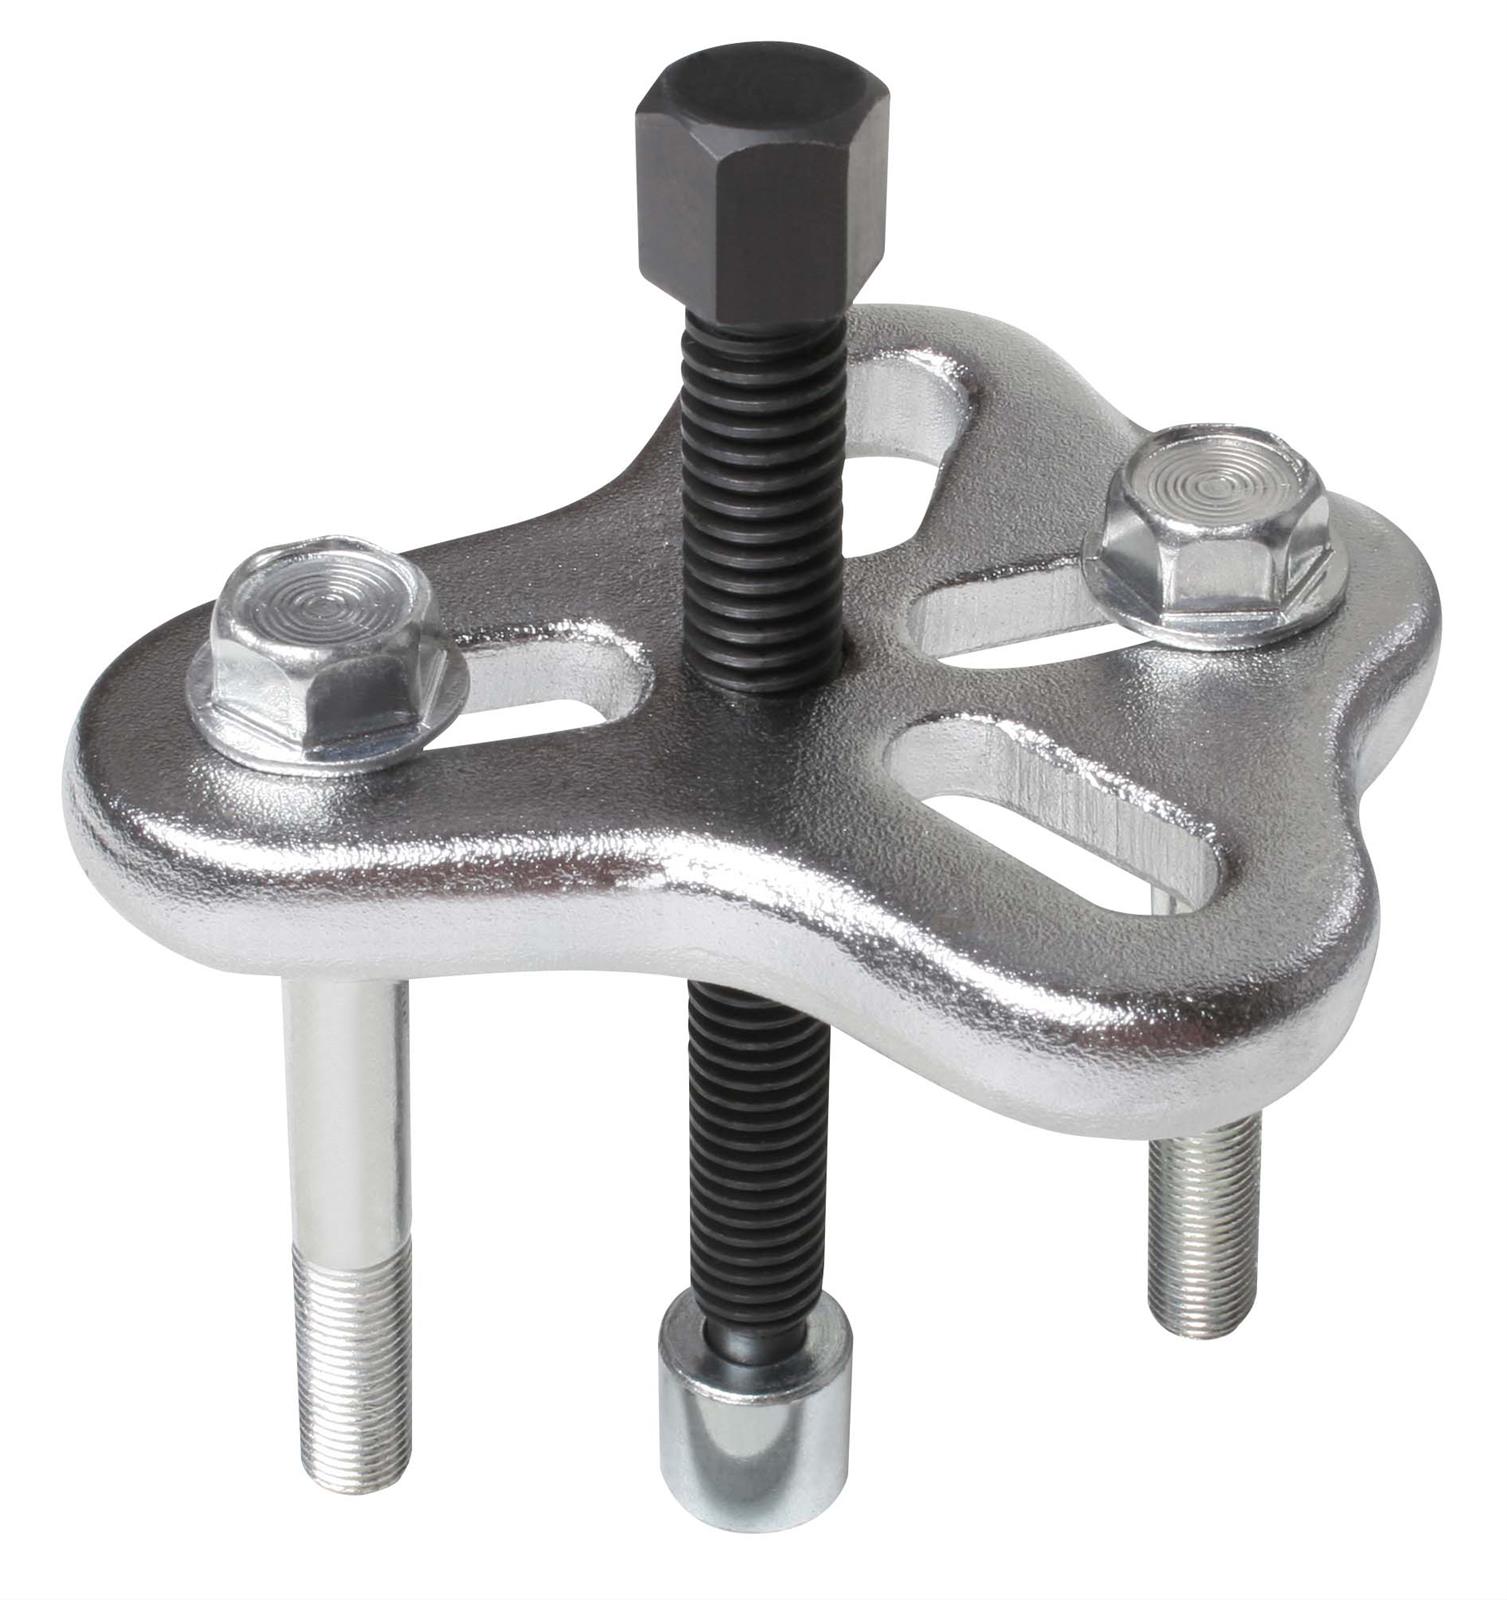
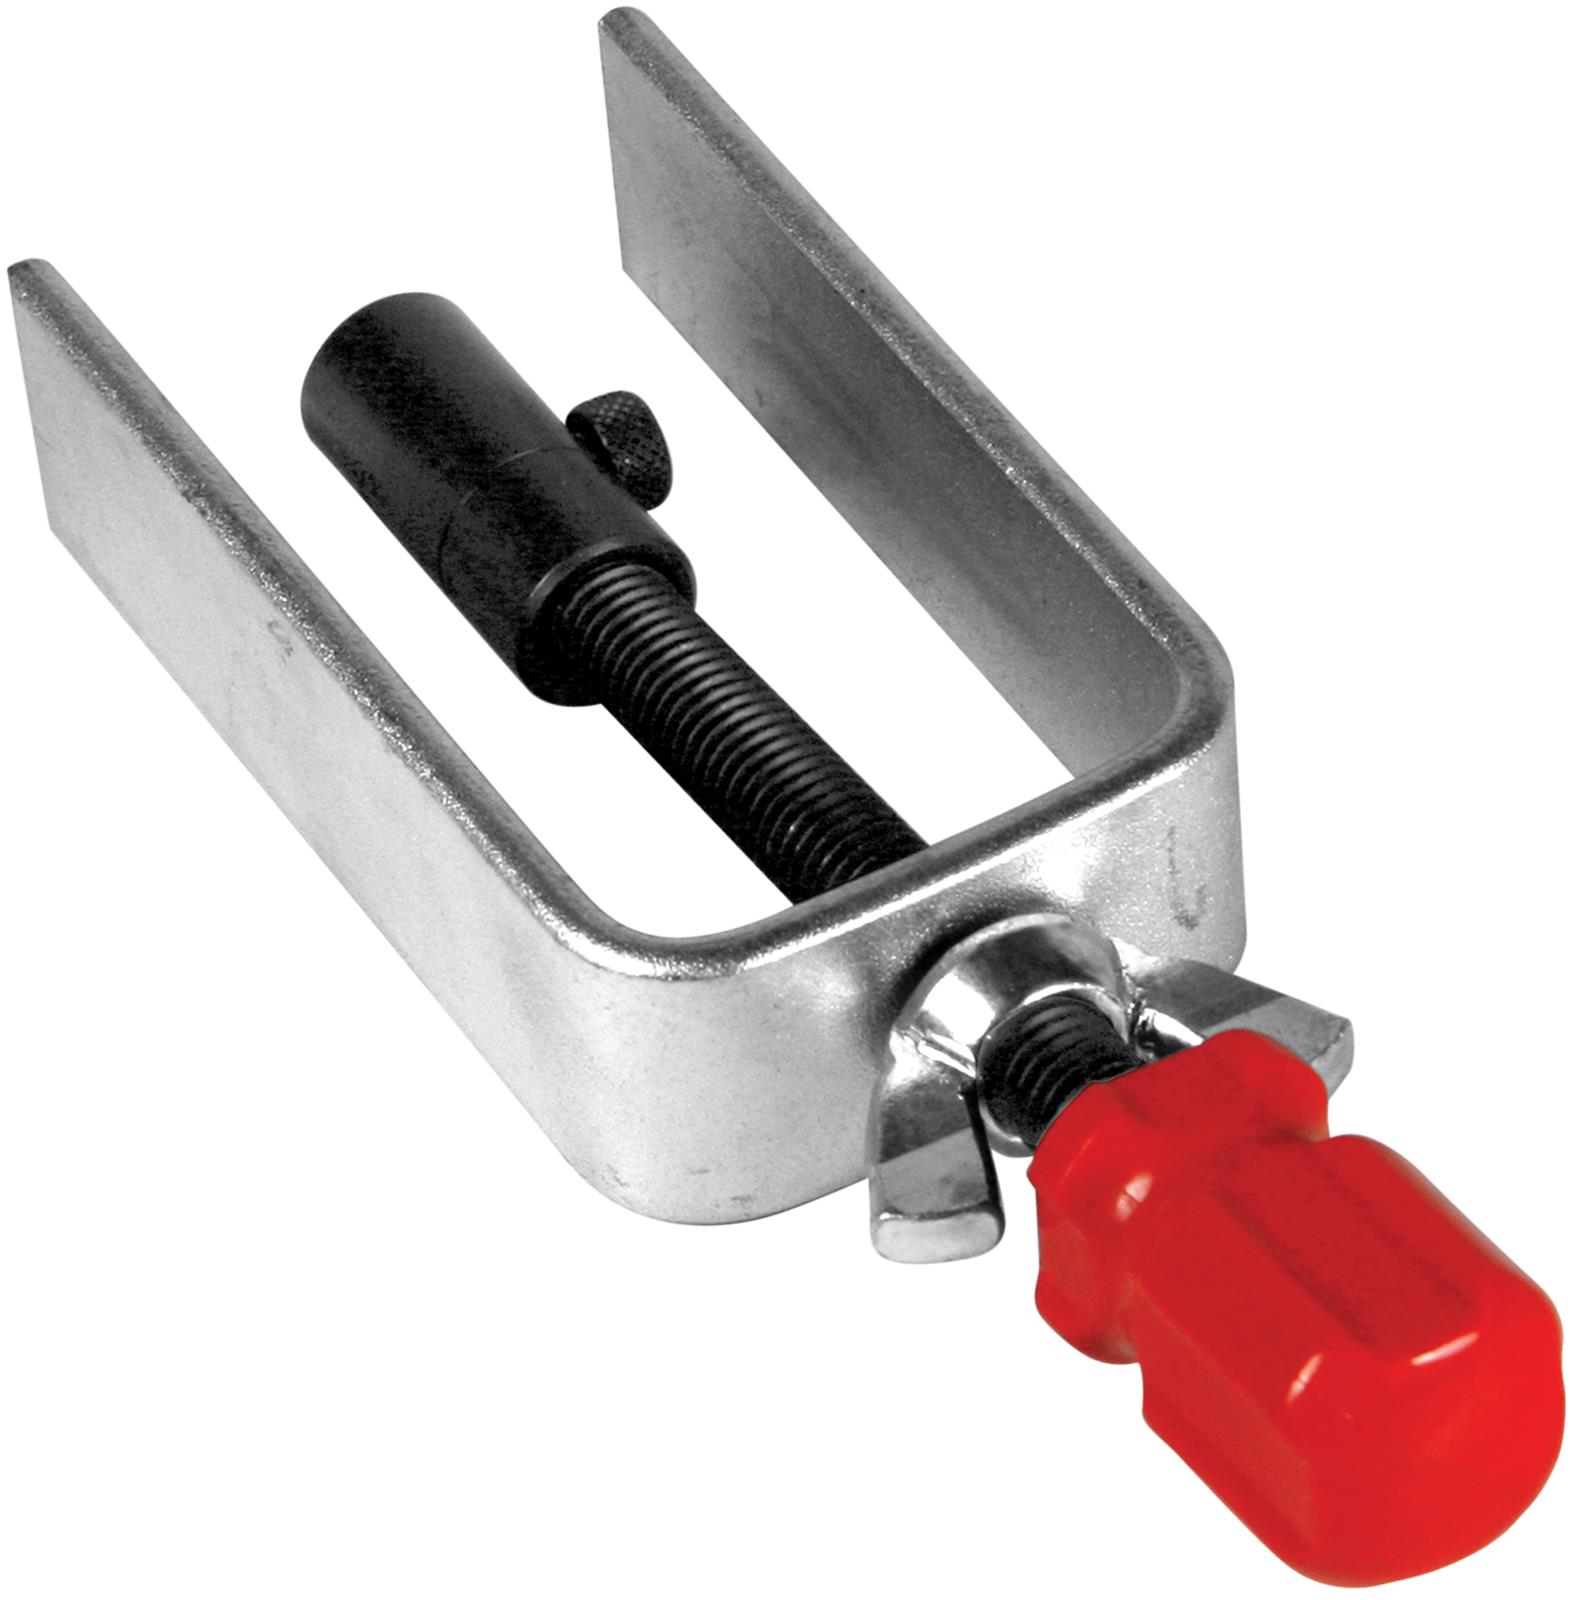
To swap the turn signal switch, will require a few specialized tools. The first is a steering wheel puller, and the second is a steering wheel lock plate removal tool that looks a bit like a U-shaped piece of metal with a threaded rod inside it.
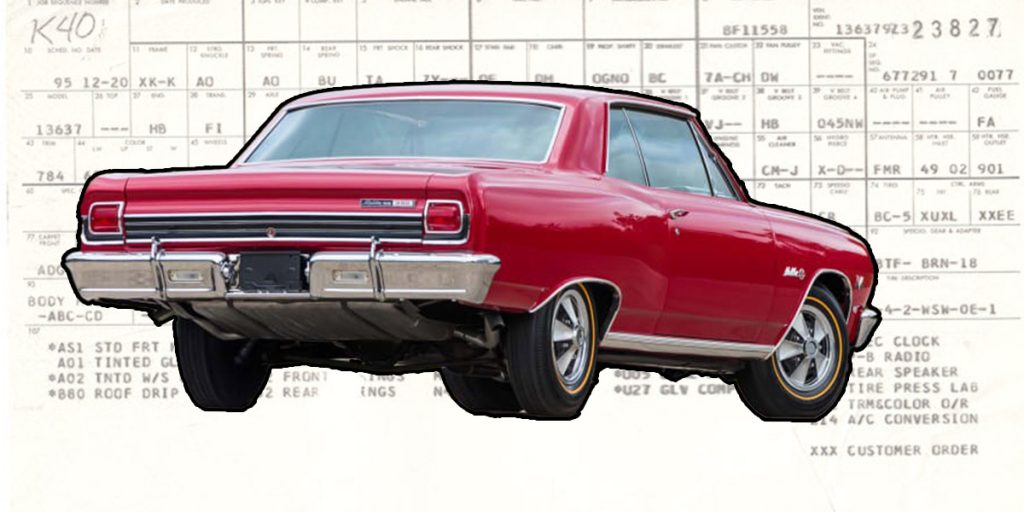
If you need a new turn signal switch we have those, along with steering wheels, horn contacts, turn signal arms or anything else you might need to restore your steering column. Just visit SS396.com.
Non-Keyed Columns
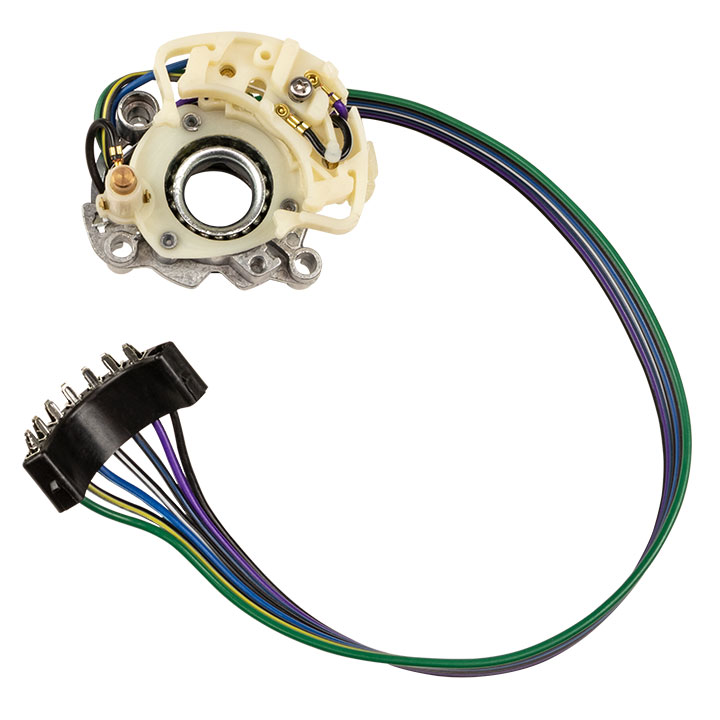
For those with a key in the dash and non-tilt, the process is simple. You’ll remove the steering wheel, which you can see how to do that right here. Then you’ll remove the turn signal switch arm with one screw, cancel cam, and then there are generally three screws holding the switch down. Once those are out, disconnect the wiring at the base of the column, and start fishing the wires out of the column.

You might have to remove the lower column mount in order to get the turn signal switch out. On some, there is a ‘cup’ that the switch sits in that you might need to remove as well. Take your time and remove the switch, then reverse the operation to install the new switch.
Keyed/Tilt Columns
Replacing the turn signal switch on a steering column that has the key in it and/or a tilt mechanism is the same as a non-keyed or tilt version, but with an extra step or two.
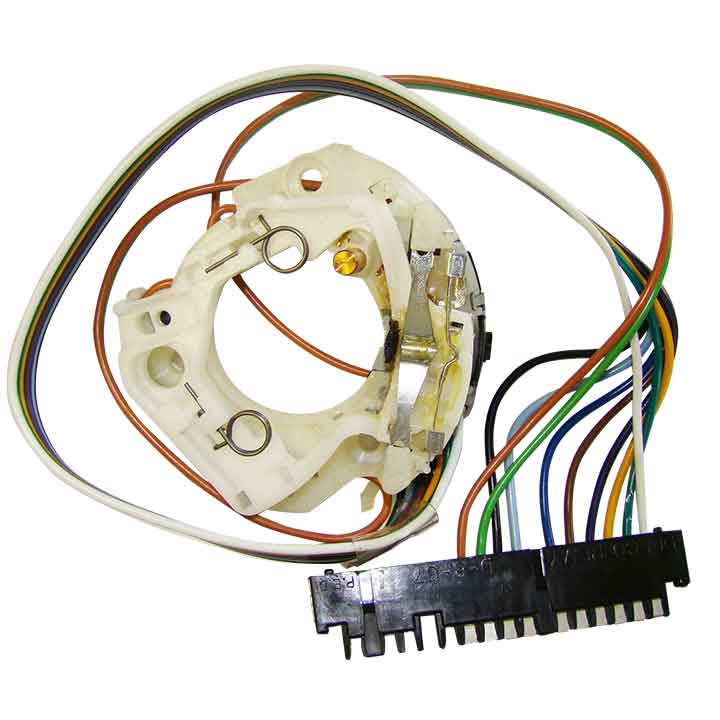
The first step is going to be to remove the steering wheel. This is the same operation that you can see by clicking here from our previous article. Once the wheel is off, you’ll have to use the steering wheel plate puller tool to remove the plate under the wheel. This tool pushes down on the plate so you can remove a clip at the base of the shaft.
Once this plate is removed, you’ll then have access to the turn signal switch. Start by removing the cancel cam, turn signal arm, and then remove the screws holding the switch to the base. After disconnecting the wiring at the bottom of the column, you can start to slowly remove the switch. A pro-tip here is to tie a wire to the end of the wiring connection to help fish the new wires back in.
These videos are courtesy of Kenton Broomridge’s YouTube Channel.
Once you have carefully fished the new wires down the column, simply reverse the order of directions. The biggest thing is to take your time and don’t rush it! You don’t want a pinched, cut, or possibly chaffed wire that will cause issues later on down the road.
If you have any other questions or need parts to replace the turn signal switch in your ride, give our friendly techs a call at (203) 235-1200 or hop on SS396.com

