How To Remove Your Steering Wheel and Horn
Removing your steering wheel is going to happen during the restoration of your ride. You might be taking it off to restore the wheel, or changing it out for an aftermarket wheel. The process is fairly straightforward and one that just about anybody can tackle themselves.
Besides basic hand tools, the only specialty tool that’s needed is a steering wheel puller. If you’re crafty you can make one yourself – but they can also be purchased cheaply or even rented from your local auto parts store. The puller will bolt to the wheel and then push on the steering shaft to pull the wheel off the shaft.
We found this YouTube video from user Base Speed and Machine showing the process; we are also going to outline down below.
Disconnect The Battery First
The first step to removing your wheel should be to disconnect the battery. The horn works with a relay under the hood. Power comes to the relay and then when you push the horn button it sends the ground to the relay to that allows the power to go to the horn. When removing the wheel if you don’t disconnect the battery then your horn might blare constantly or short out the horn circuit and cause the relay to overheat- either way not a good outcome.
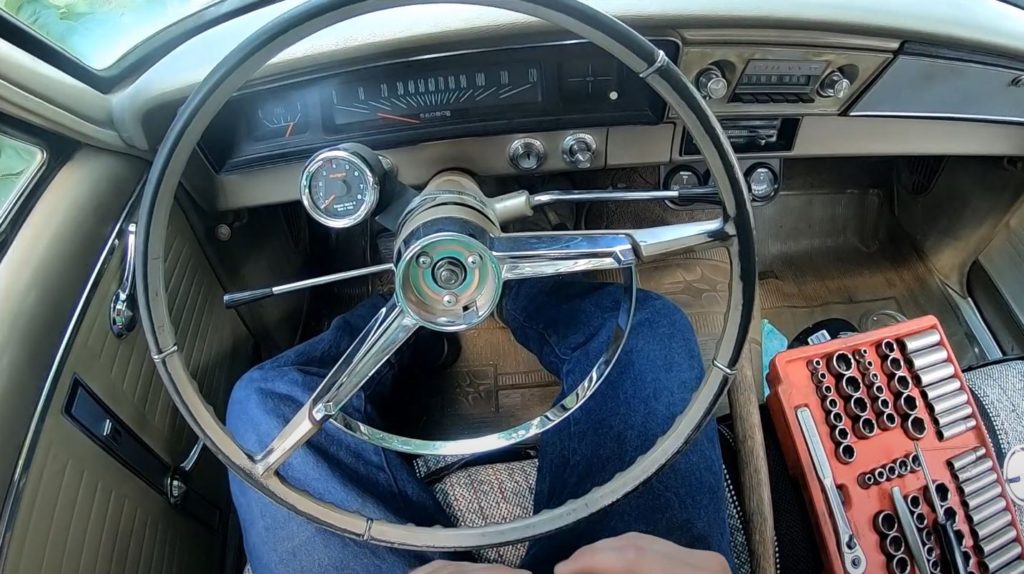
With the battery disconnected, next you’ll need to hop inside the car. On most early GM applications there’s a horn button that you can gently pry and pop off with a screwdriver. Note in some applications there are screws that come from the backside that hold on a horn piece.
With the horn button out of the way, you can see a few screws and a big nut in the middle. You’ll need to remove the three screws; this is your horn assembly that supports the horn button cap in the center of the steering wheel. Pay special attention to the order of these pieces for reassembly. If they are wrong then the horn might not work or be stuck in the on position.
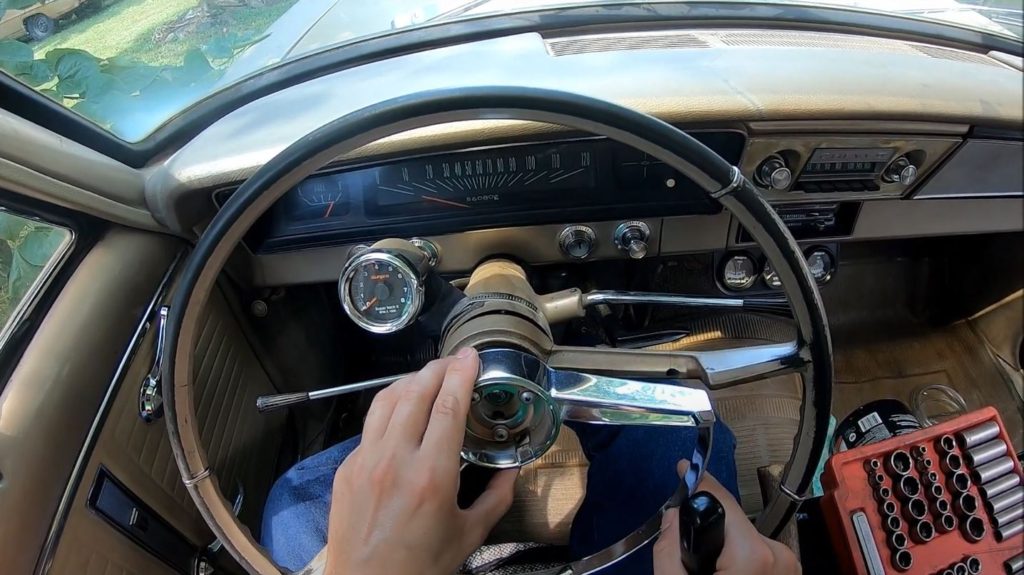
Now you’re ready to remove the wheel. This requires the steering wheel puller. First, you’ll remove the big nut at the end of the steering shaft. This nut shouldn’t be too tight but should be snug. With the nut out of the way, install the steering wheel puller.
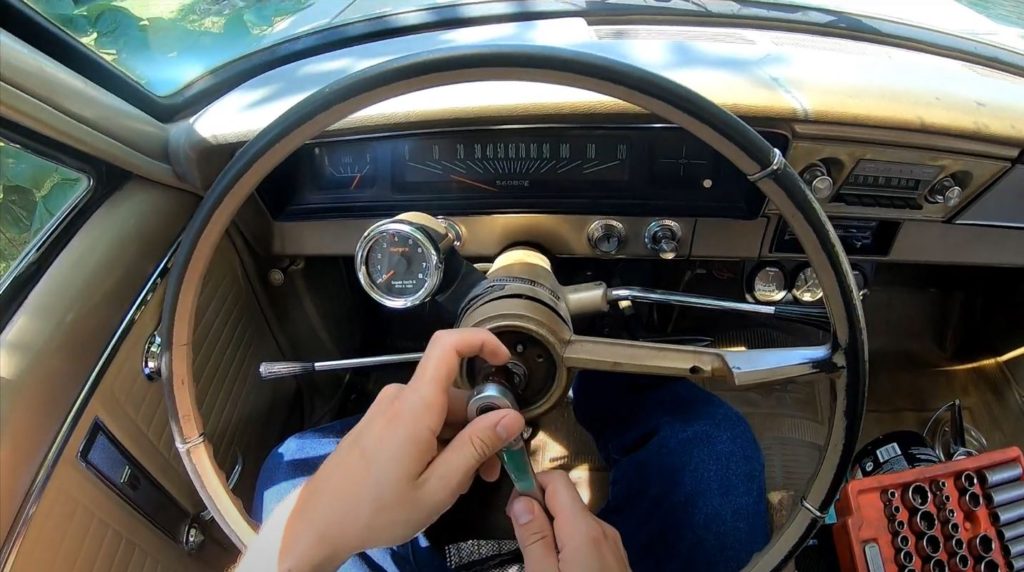
Steering Wheel Puller - Almost There!
The steering wheel puller will have two bolts that thread into the steering wheel, with one large bolt that will push on the end of the steering shaft. Make sure the two bolts holding the puller are fully threaded and that the entire assembly is threaded. We recommend wearing a pair of safety glasses as you’ll start applying pressure and things can pop.
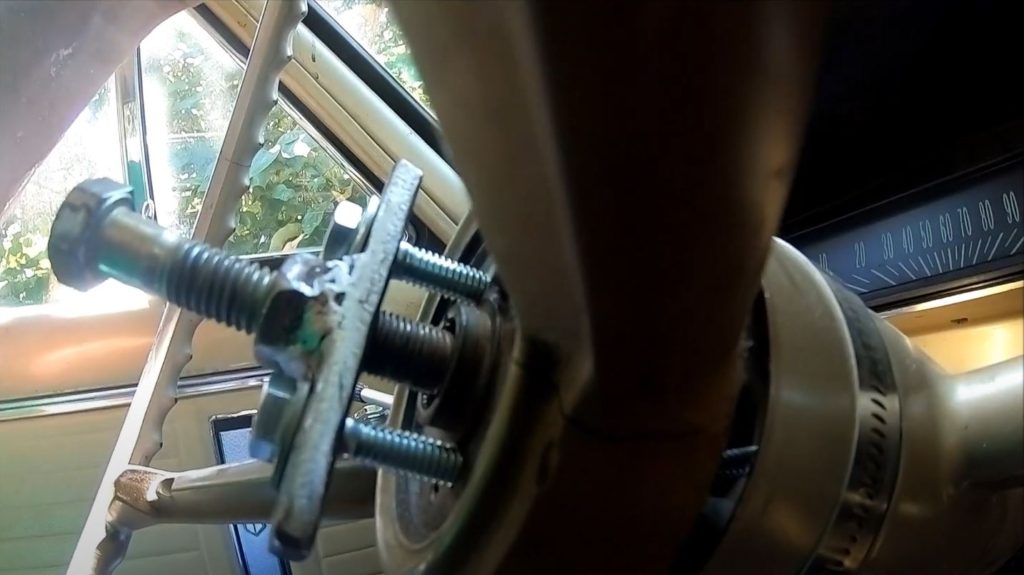
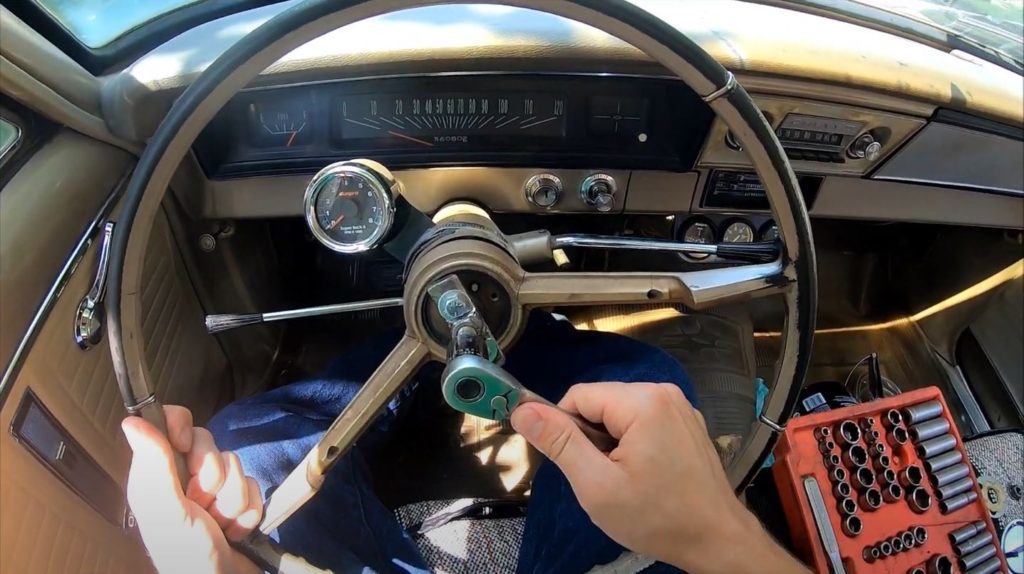
With the two bolts tightened down, slowly start tightening down the center bolt to apply pressure. One trick is to get the center bolt rather snug, then tap it gently a few times with a hammer. This will jiggle the steering wheel a bit on the steering shaft helping to break it loose. Repeat as necessary until the steering wheel pops off.
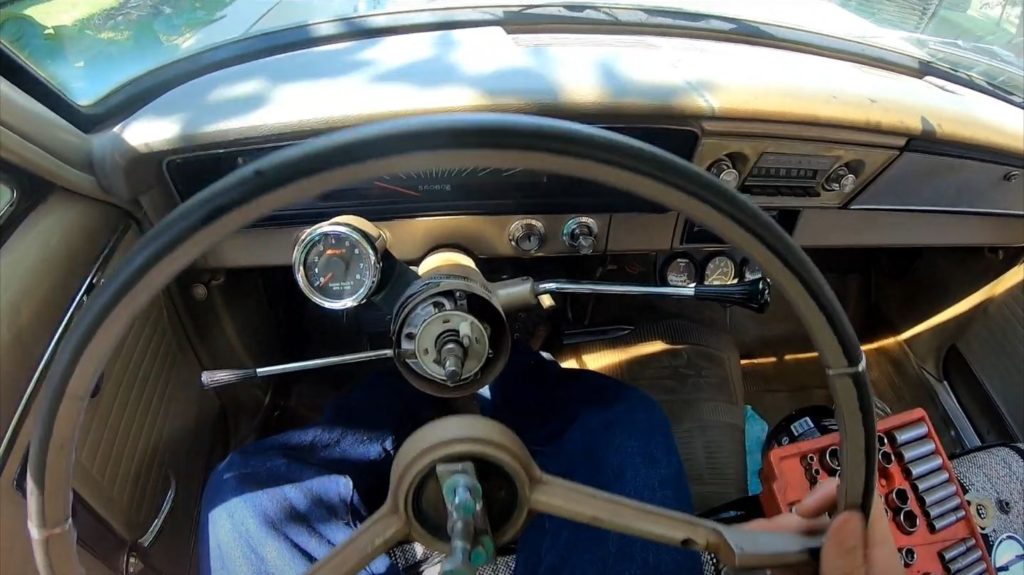
The steering wheel and steering shaft are splined, so take note of the position of the steering wheel. With the steering wheel off you can also access the turn signal switch for repair or replacement.
For reassembly, just reverse the process. However, you won’t need the steering wheel puller. Once you slide the steering wheel onto the steering shaft, push it down till it stops. Then install the large nut and tighten it until the wheel is at the correct spacing from the column and snug.
If you have any questions about removing your steering wheel feel free to give our friendly techs a call at (203) 235-1200. If you need any parts for your steering wheel or even an entirely new steering wheel, we have those at SS396.com

