
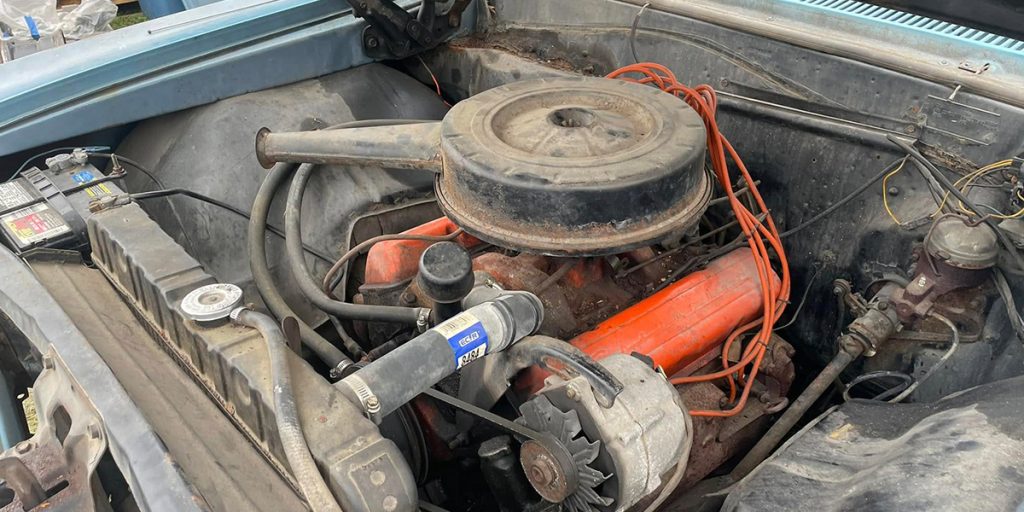
When it comes to restoring or verifying the originality of your Chevelle, correctly identifying the small block under the hood an important step. After all,
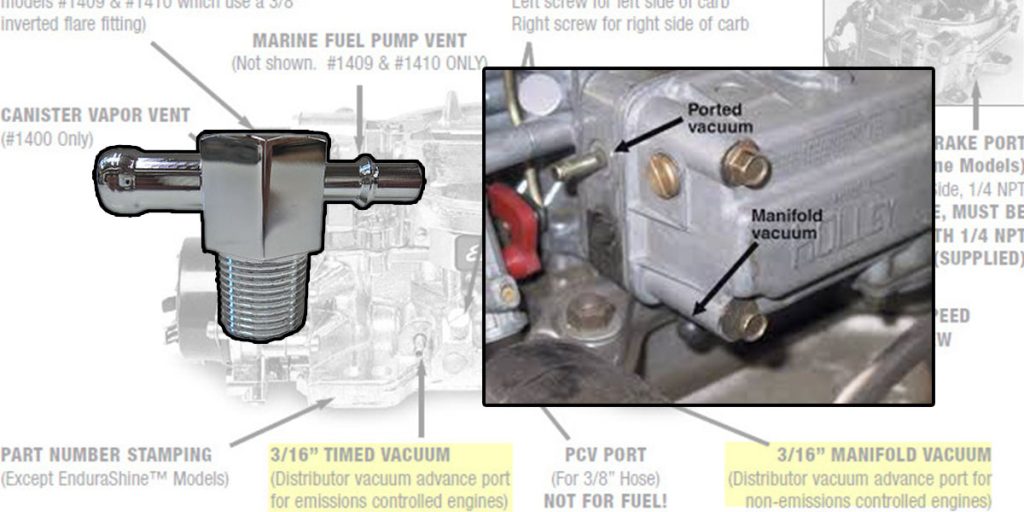
Ported vs. Manifold Vacuum for Distributor Vacuum Advance in GM Applications In the world of classic General Motors (GM) engines, proper ignition timing is needed
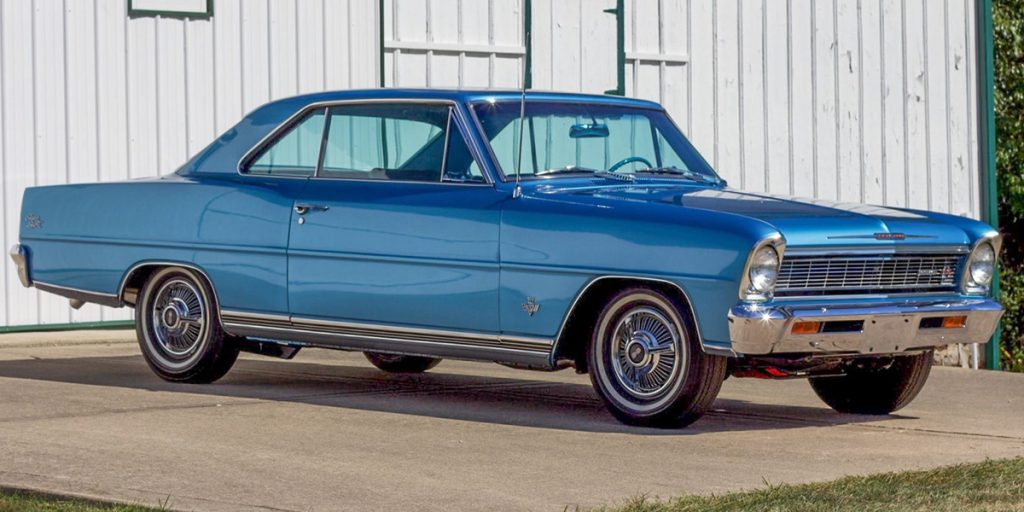
The golden era of American muscle cars was defined by bold styling, big horsepower, and a relentless pursuit of speed. Chevrolet was right in the
