Article
1964–1972 Chevelle Small Block Identification Guide
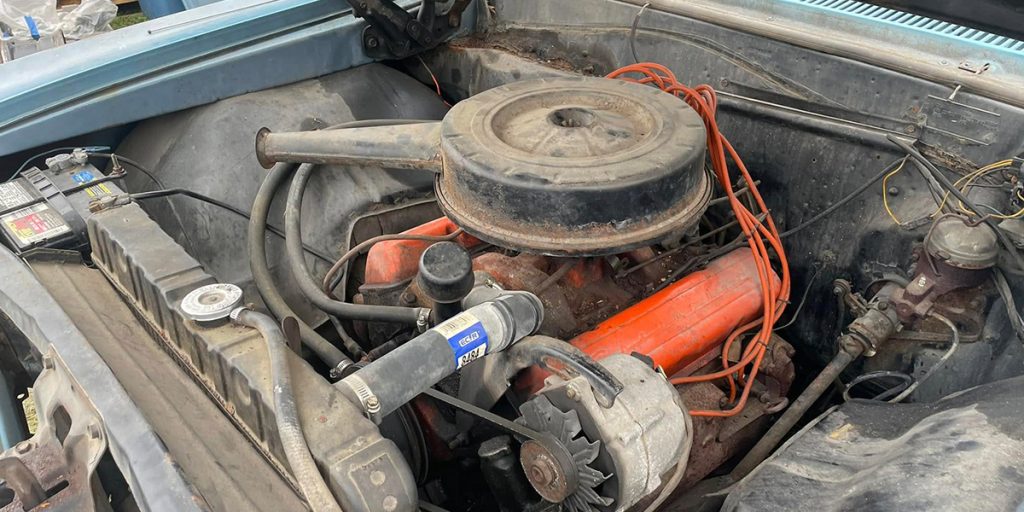
When it comes to restoring or verifying the originality of your Chevelle, correctly identifying the small block under the hood an important step. After all,

When it comes to restoring or verifying the originality of your Chevelle, correctly identifying the small block under the hood an important step. After all,
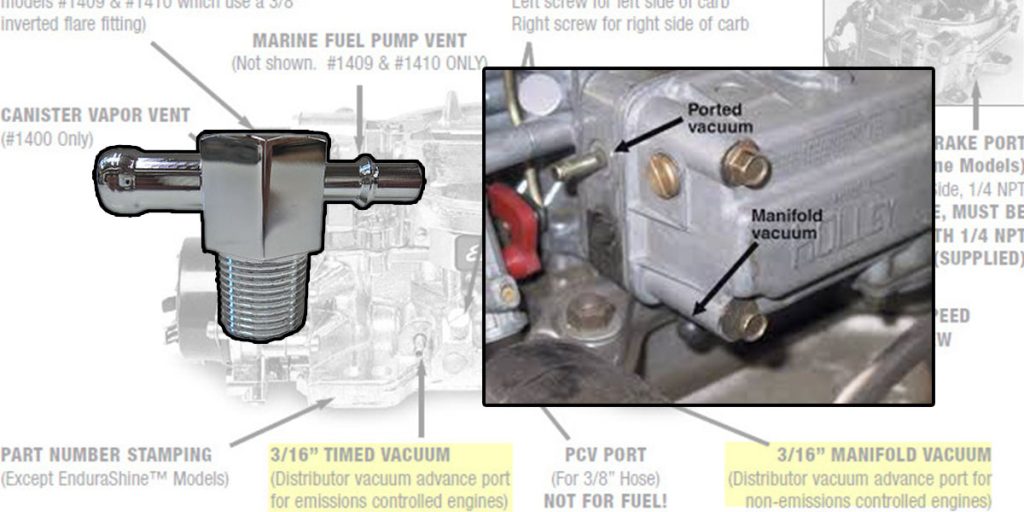
Ported vs. Manifold Vacuum for Distributor Vacuum Advance in GM Applications In the world of classic General Motors (GM) engines, proper ignition timing is needed

Father’s Day Sale! Get Free Shipping* + a Free T-Shirt when you apply the Code: FTS25 during checkout on orders over $199, valid until 06/15/25 (9pm ET). Don’t miss out on this opportunity to save on the essential parts that keep your restoration moving forward.
