Turn Up The Stereo!
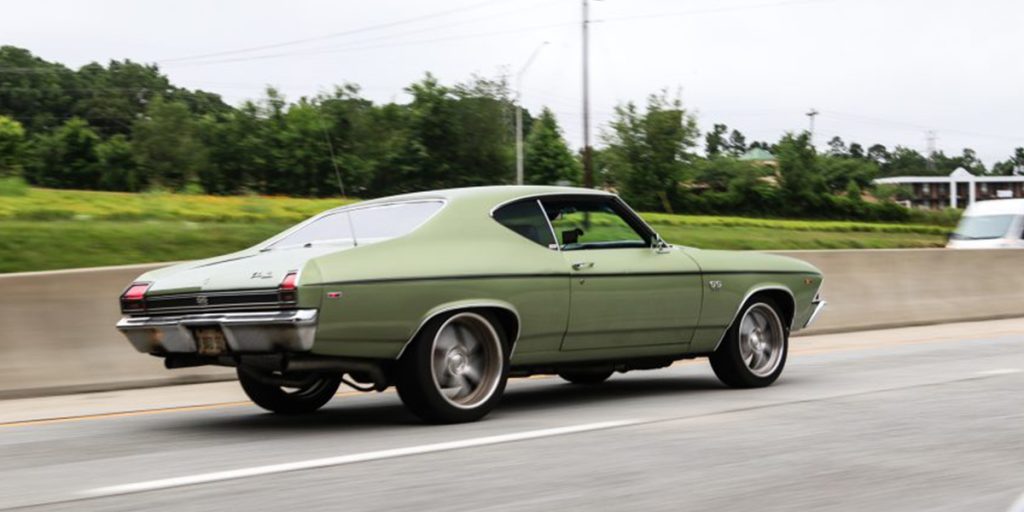
Classic Chevrolets have a way of making every drive feel like a special event. The one thing that usually doesn’t hold up? The factory radio. Paper cones, AM-only tuners, and fifty-year-old wiring were never meant to compete with freeway wind noise, headers, or today’s streaming habits. The good news is that you can add modern sound without hacking up a survivor dash.
Choose Your Sound Style
Every car and owner has different priorities. You might want your car to look stock but have modern upgrades, or have a modern look. There’s no right or wrong answer, only preferences.
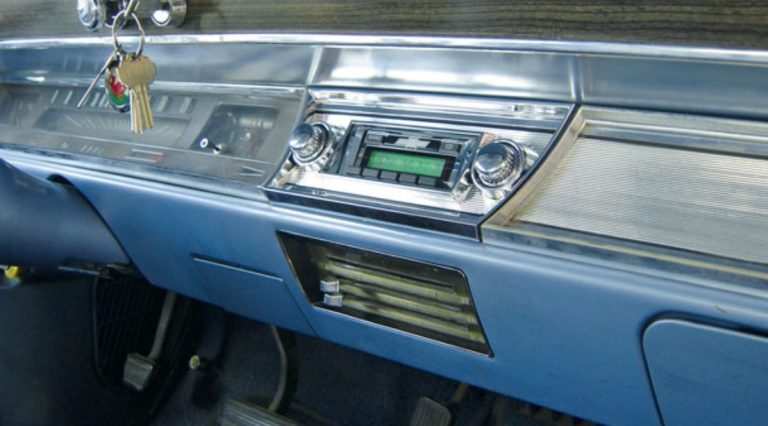
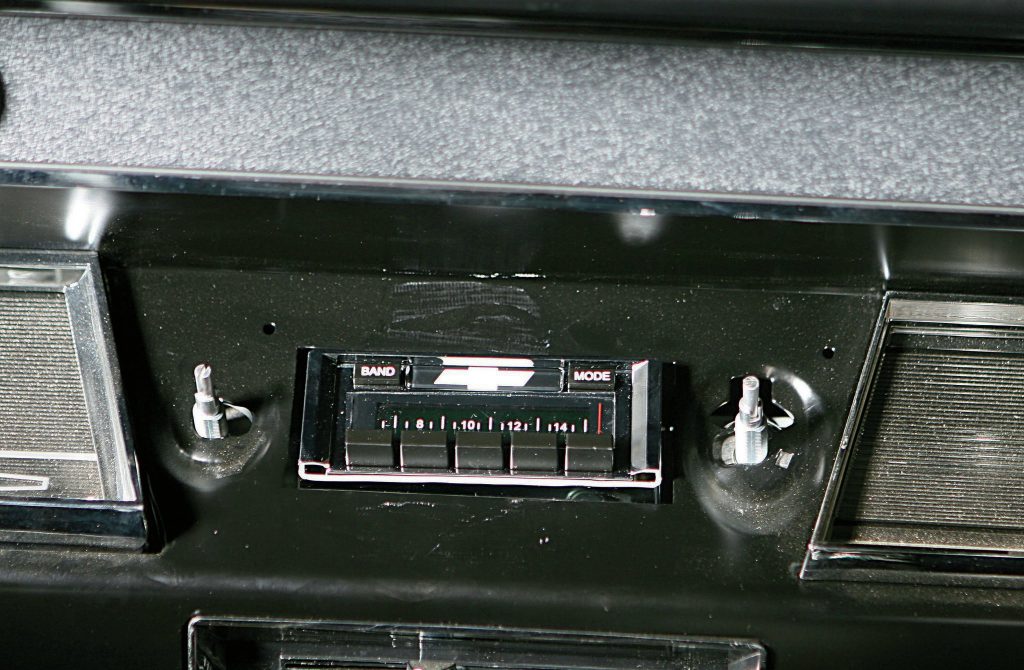
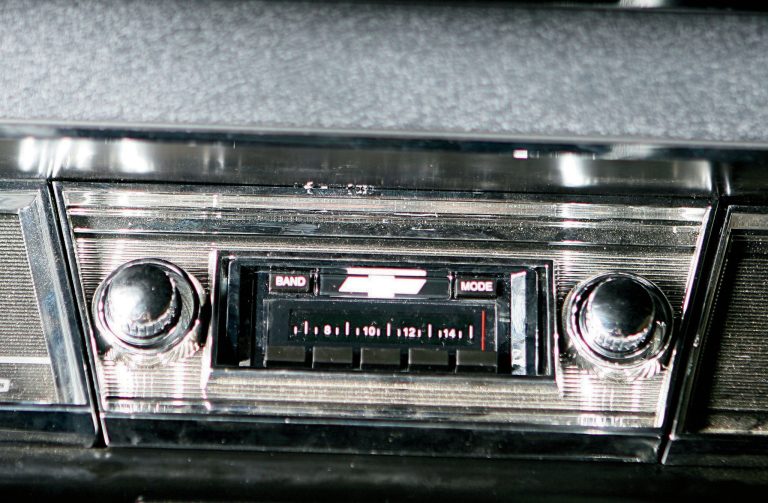
The dashes in these classic Chevrolet’s have a two-shaft opening. This is where one knob comes through to handle volume and the other handles tuning with a small rectangle in the middle. You can cut it most the time for a modern single-DIN stereo, but that’s not necessary anymore as there’s lots of options.
1) OEM+ (No-Cut, Direct-Fit Head Unit)
Best for: Stock or restored interiors, resale value, quick installs.
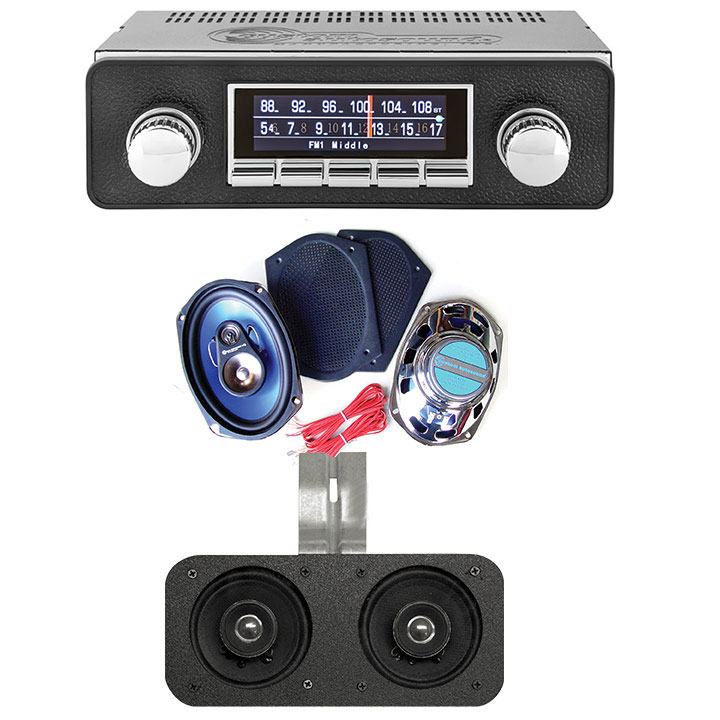
What to use: Custom Autosound direct-fit head units (vehicle-specific faceplates and shafts), dual voice-coil dash speakers, kick panel speakers.
Why it works: You keep the factory look (knobs, chrome bezel) but gain modern guts like Bluetooth, USB, and preamp outputs.
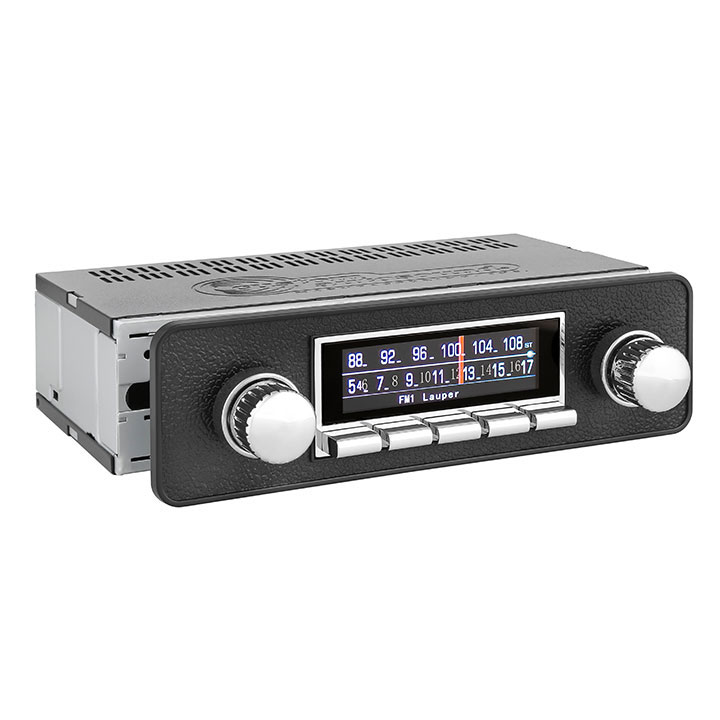
Custom Autosound callouts
USA-230: Clean AM/FM with aux-in simplicity.
USA-630: Adds USB media and more tuning options.
USA-740: Steps up with built-in Bluetooth, sub pre-out, and expanded tone control.
SlideBar: Classic analog dial by day, slide the bar to reveal a modern digital display—perfect for concours folks who still want streaming.
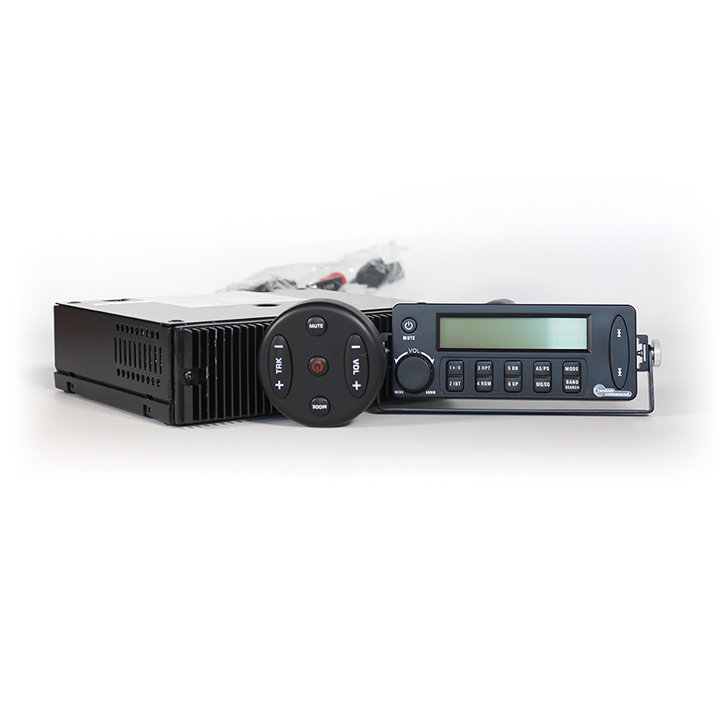
2) Hidden System (Dash Stays Stock)
Best for: Survivors, high-end originals, bench-seat cruisers.
What to use: Custom Autosound SecretAudio hideaway brain (mounted under seat, glove box, or trunk) with a small wired display or RF remote; add Undercover II compact speaker enclosures beneath seats.
Why it works: Nothing visible in the dash; all the features (Bluetooth/USB) live under the radar.
3) Performance Audio (Show & Go)
Best for: Drivers who want serious volume and clarity with room for amps and a sub.
What to use: A Custom Autosound head unit feeding external amplifiers; add kick panels, rear 6x9s, and a stealth sub (spare well or low-profile enclosure).
Why it works: You’ll drown out side pipes without butchering the dash opening.
Speaker Locations (Factory & “Stealth” Upgrades)
Just like the head units, there’s plenty of “stealth” ways to add speakers into your classic that, for the most part, can’t be seen.
Dash center speaker (single): Replace with a dual voice-coil dash speaker to get true left/right from the stock grille.
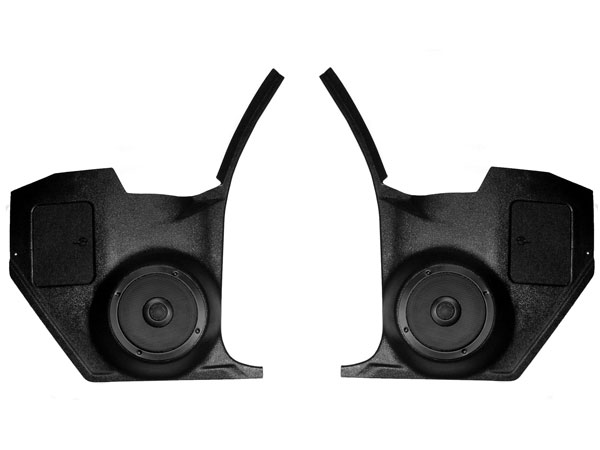
Kick panels: Custom Autosound pre-molded kick panels with built-in speakers are the fastest path to real front-stage imaging—no door cutting, reversible.
Rear deck 6x9s: Classic, easy, and effective. Use a perforated package tray or pre-cut panel to allow sound to come through.
Under-seat: Undercover II shallow enclosures tuck in tight spaces and add mid-bass without a trunk box.
Subs: Low-profile trunk enclosures or spare-tire wells keep it clean. Convertibles benefit most from a discreet sub because rear deck space is limited.
Power & Wiring Reality Check
Stock harnesses weren’t designed for modern audio current draw. Plan on:
A fresh constant 12V feed (fused at the source).
A clean IGN/ACC feed from the fuse panel.
Short, bare-metal ground near the head unit and another for each amp.
Proper speaker wire runs (avoid reusing brittle factory wire).
Parts Checklist (Camaro/Chevelle/Nova)
Custom Autosound head unit (USA-230/630/740 or SlideBar where applicable)
Vehicle-specific dash bezel/shaft kit (usually included with direct-fit units)
Dual voice-coil dash speaker (model-specific)
Kick panel speaker set (with or without speakers pre-installed)
Rear 6×9 speakers + package tray panel
Hidden or amplified antenna (great for shaved fender cars)
SecretAudio hideaway system (if going “stock dash / hidden audio”)
Undercover II under-seat speaker enclosures (optional)
4-channel/5-channel amp (optional), RCA cables, amp wiring kit (fused)
Sound deadener (firewall, floorpans, doors, trunk)
Misc.: Grommets, split loom, ring terminals, adhesive mounts, zip ties, panel tools
Avoid These Common Pitfalls
Dash cutting for DIN: You don’t need to. Direct-fit Custom Autosound units exist for the cars in this article.
Weak grounds: 90% of alternator whine comes from poor grounding. Star washer ground the system.
Speaker mismatch: Don’t mix 4Ω and 2Ω loads on the same channel; check specs before wiring pairs in parallel.
Bare-metal wires through the firewall: Always use a grommet. The right way is cheaper than an electrical fire.
Skipping sound deadener: A few sheets on the outer door skins, floorpans, and trunk make a massive difference at highway speed.
You don’t have to choose between originality and great sound. With companies like Custom Autosound, classic Camaro, Chevelle, and Nova owners can keep the factory look, add today’s features, and actually hear the music over a solid-lifter small-block. Start with a no-cut head unit and smart speaker placement; add a stealth sub and amp later if you want more. Done right, the install is reversible, clean, and makes every drive feel like a brand-new car—just with way more character.
For a full line up of Custom Autosound stereos, speakers, and more visit SS396.com or give our friendly techs a call at (203) 235-1200!