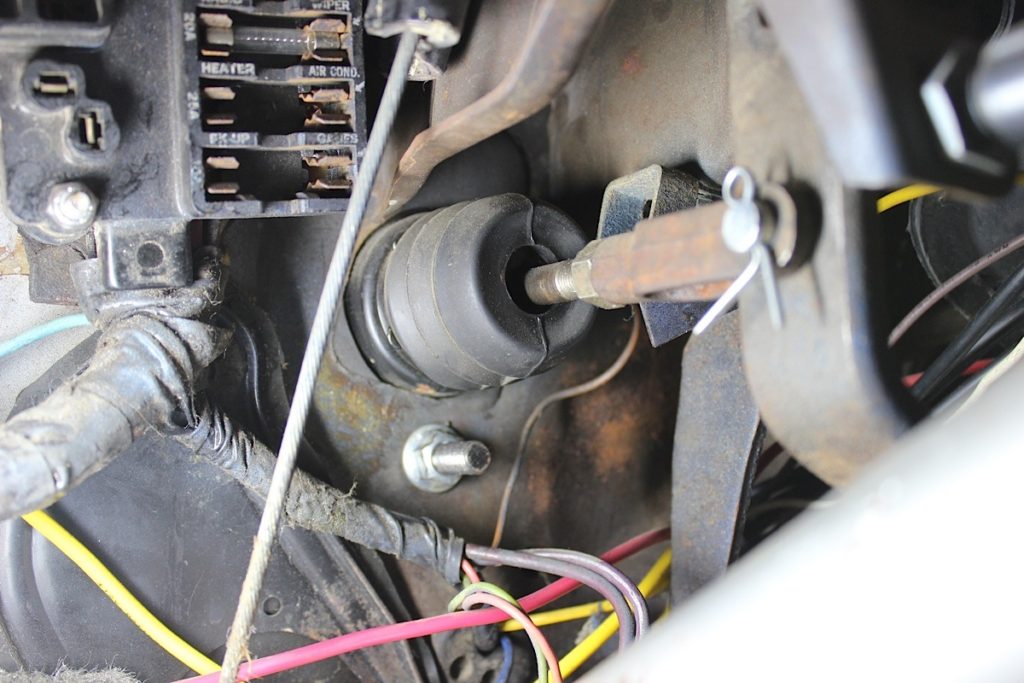
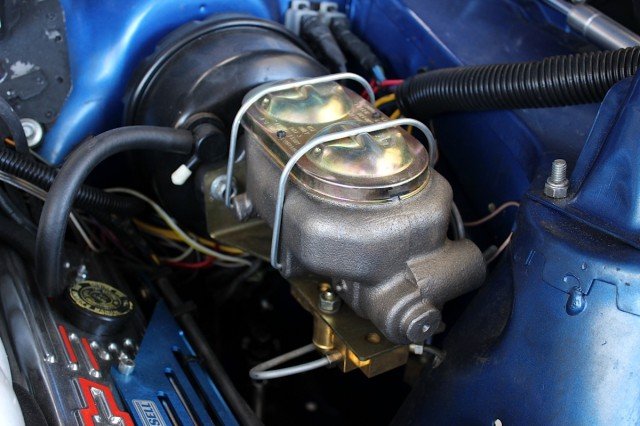
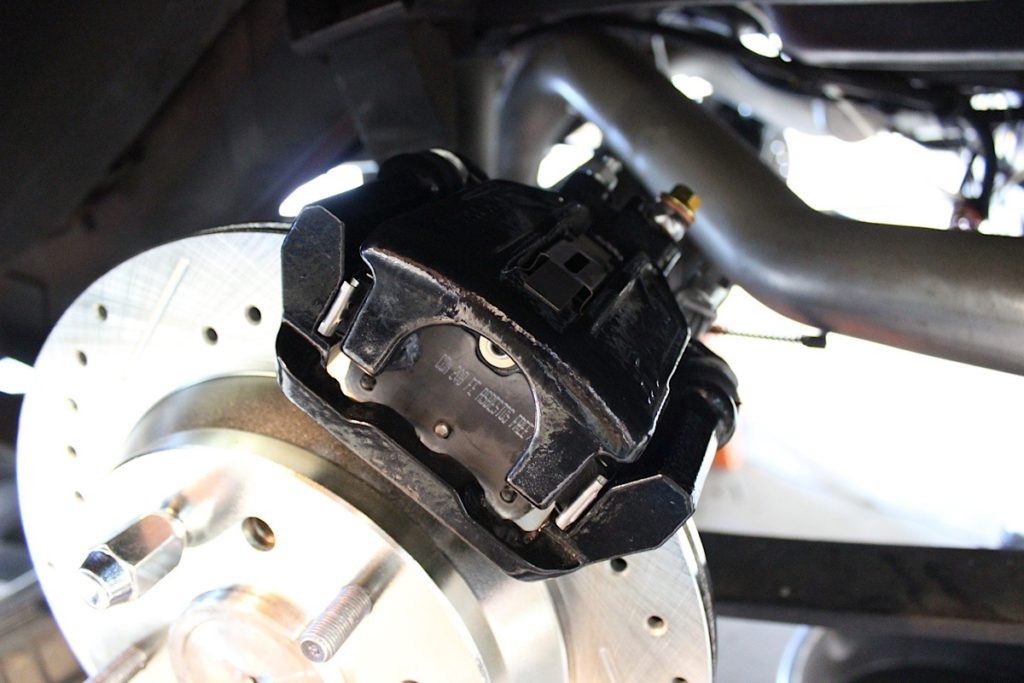
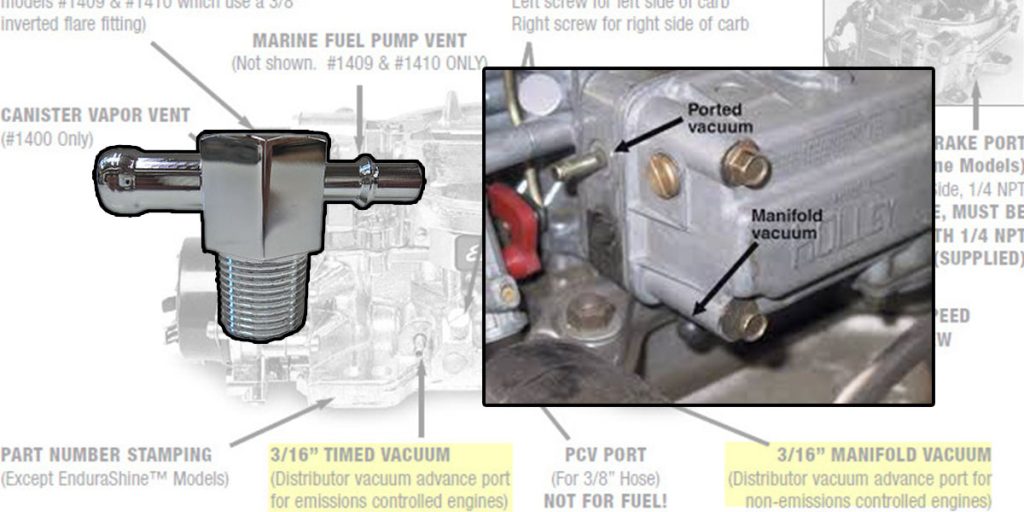
Ported vs. Manifold Vacuum for Distributor Vacuum Advance in GM Applications In the world of classic General Motors (GM) engines, proper ignition timing is needed

American muscle car’s didn’t just change the automotive landscape in America, it changed the global automotive industry forever. Born from a perfect storm of post-war
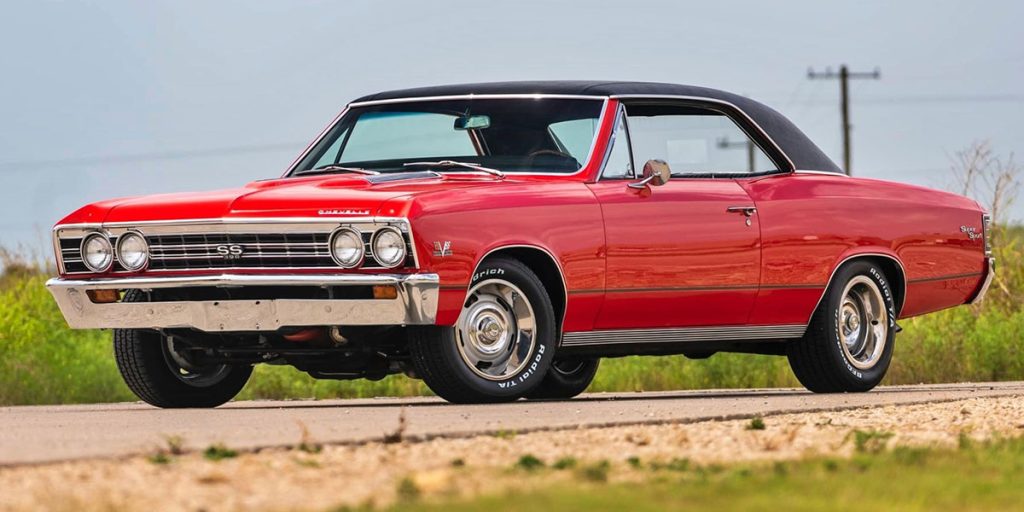
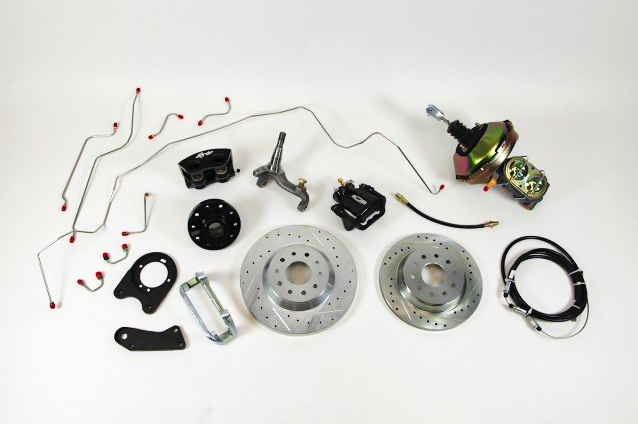
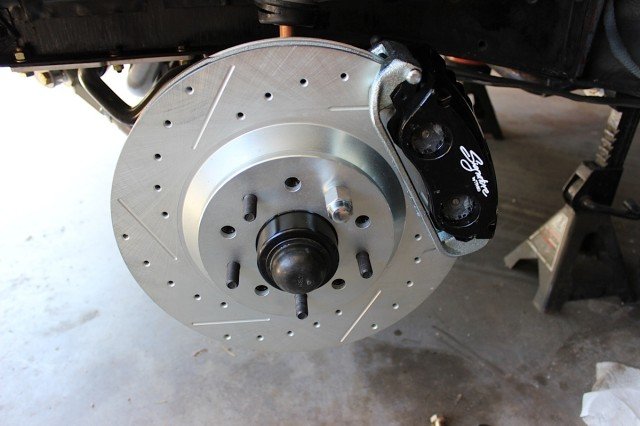
Is your ’67 Chevelle SS The Real Deal? Enthusiasts love classic cars for all sorts of reasons such as the looks, performance, history, and nostalgia.
