

American muscle car’s didn’t just change the automotive landscape in America, it changed the global automotive industry forever. Born from a perfect storm of post-war
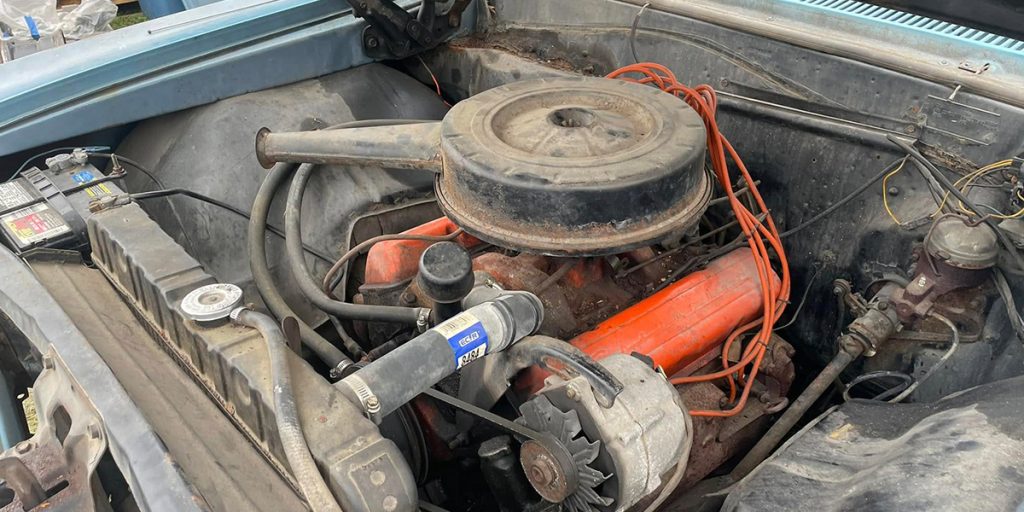
When it comes to restoring or verifying the originality of your Chevelle, correctly identifying the small block under the hood an important step. After all,
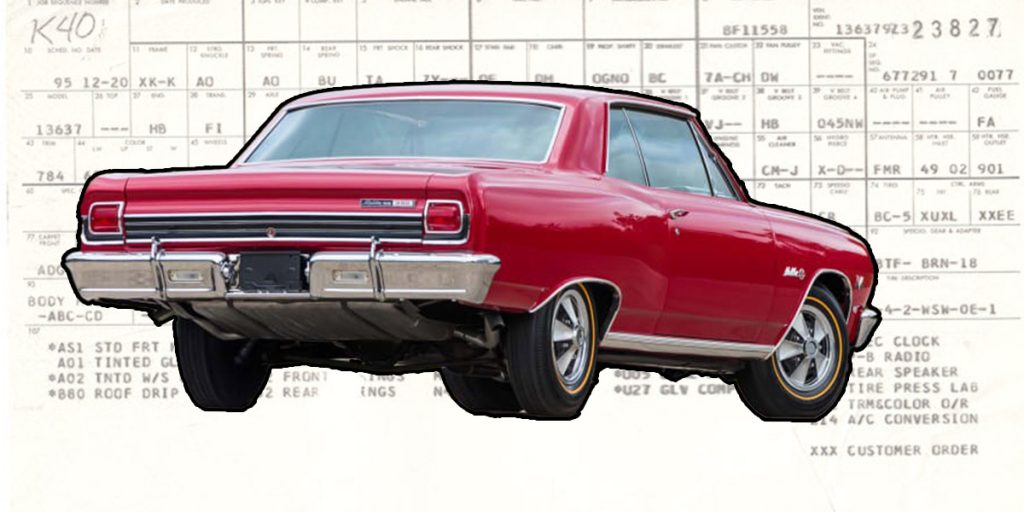
1964–1972 Chevelle RPO Codes: A Complete Breakdown If you’re restoring, decoding, or just plain geeking out over a 1964-1972 Chevrolet Chevelle, then you’re probably checking
