Clutch Adjustment Made Easy
Engaging and disengaging the clutch is as simple as pushing in the pedal – if everything is working properly. In order for that to happen there needs to be a system of linkages to connect the pedal to the actual clutch inside the transmission. Adjusting all the clutch linkage is crucial for proper clutch operation and longevity.
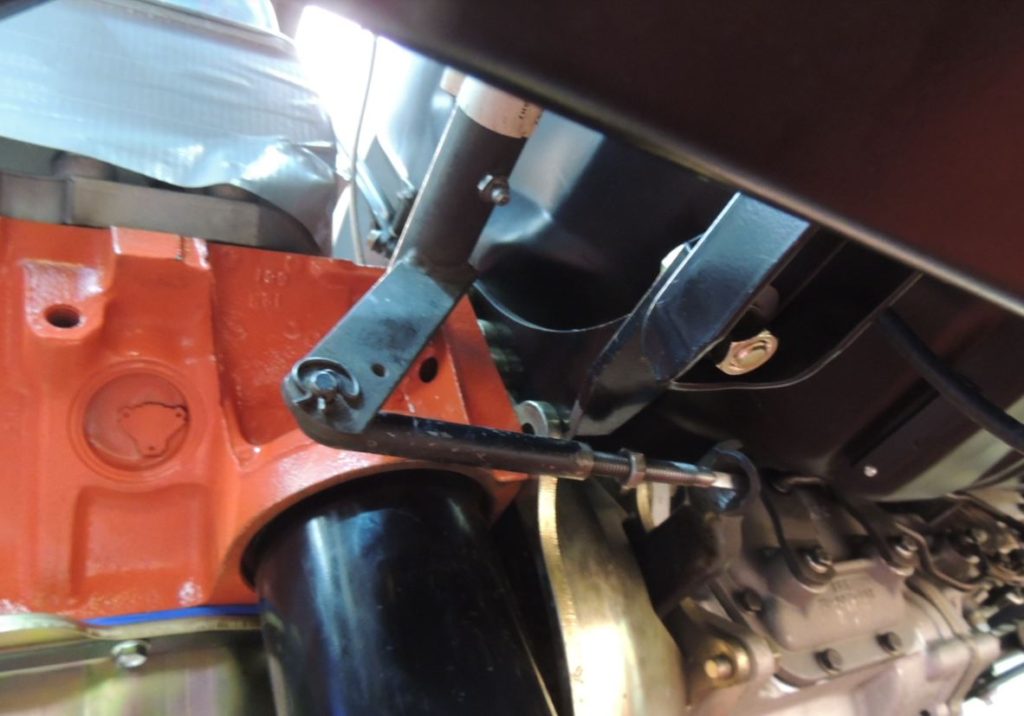
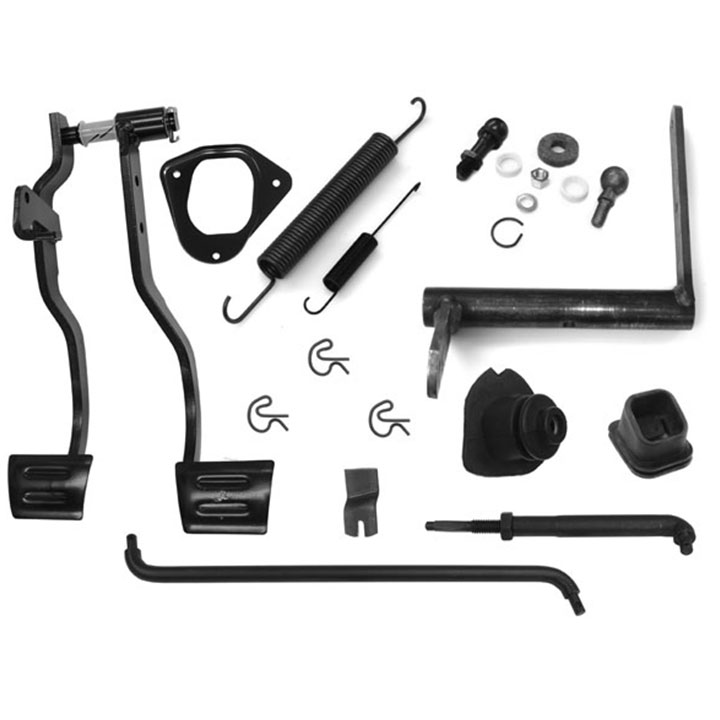
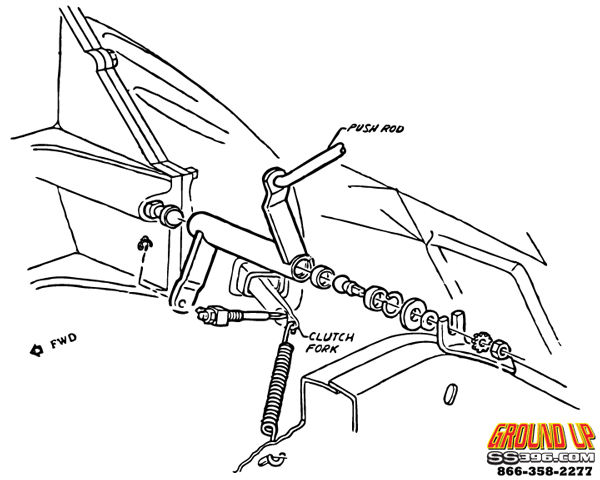
There are a few different pieces required to make the clutch work. First is the pedal itself which swings down and away when you press it. That clutch pedal is connected to a rod that goes through the firewall and connects to the Z-Bar. The Z-Bar is then connected to another linkage piece and it’s connected to the clutch fork that goes into the housing.
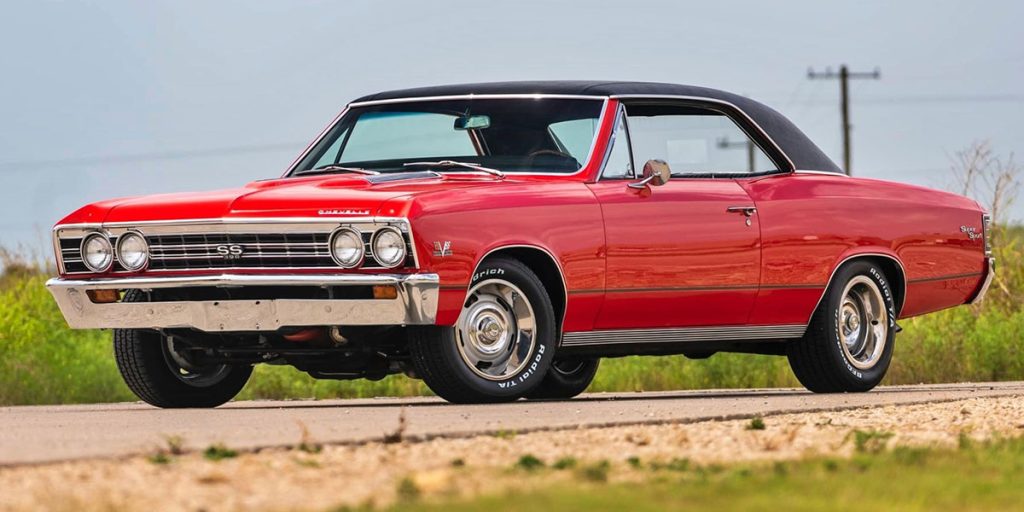
This procedure is for clutches with manual linkages, not a modern hydraulic linkage. In addition, this procedure is going to be the same process whether you have a classic Chevelle, Camaro, or Nova. The pieces might look slightly different than what’s shown below, but the overall process is the same.
If your clutch linkage is too tight then the throwout bearing will ride the clutch fingers and burn up, or it won’t let the clutch completely engage. On the flip side if the clutch linkage is too loose then you risk the clutch not disengaging properly and causing bad shifts.
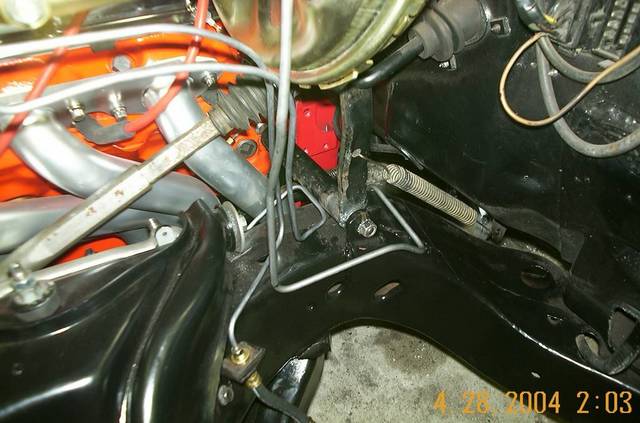
Luckily, adjusting your clutch linkage is pretty easy and there’s only one place to adjust it. The bad part is it’s under the car so you’ll need to raise the car up safely to access it. The last piece of linkage that attaches to the Z-Bar on one end and pushes on the clutch fork on the other is able to be extended or shortened as needed.
Clutch Linkage Adjustment Methods
There are a few different methods for adjusting the linkage. The first is to adjust that rod so that there’s between 1″ and 1-1/2″ of play in the pedal. The second method is to extend the linkage until there’s no play, then back it off about three turns. A third method is to push the linkage away from the clutch fork and have about a 1/16th” to 1/8th” gap between the two.
No matter how you choose to adjust it, the end result is the same. You want a little bit of play in the linkages. If they are all tight then the clutch fork will push on the throw-out bearing causing it to ride on the clutch constantly or worse yet not fully engage the clutch. There needs to be a very small gap between the throwout bearing and the fingers on the clutch.
Once you’ve done your adjustments you should test it out. The safest way is to put the rear of the car on jack stands so the rear wheels aren’t touching the ground. Then start the car and see how the clutch feels. When you push in the clutch do the wheels stop spinning? Then it’s disengaging properly. If the wheels continue to spin, then the linkage is too loose not allowing the clutch to properly disengage.
After going through this process if you still have issues, you might have some worn-out pieces. Make sure that everything is tight with no slop but also moves freely. The Z-Bar should be well greased for proper use. The linkages can wear down over time as well causing more free play in the system than it needs.
If you still have questions or can’t seem to get the adjustment just right, give our friendly techs a call at (203) 235-1200 and we will be happy to help diagnose it with you! If you need clutch parts, we have those available as well!