Article
1964–1972 Chevelle Small Block Identification Guide
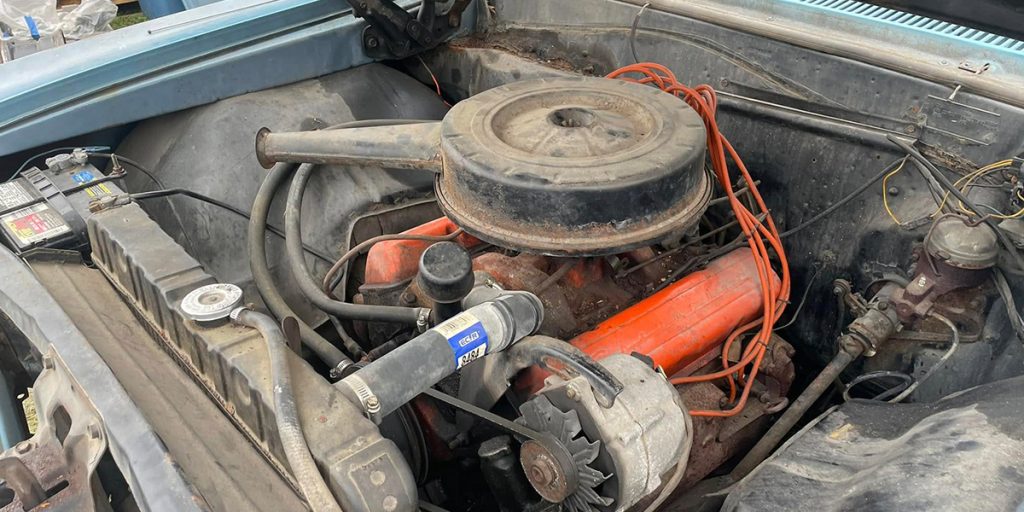
When it comes to restoring or verifying the originality of your Chevelle, correctly identifying the small block under the hood an important step. After all,

When it comes to restoring or verifying the originality of your Chevelle, correctly identifying the small block under the hood an important step. After all,
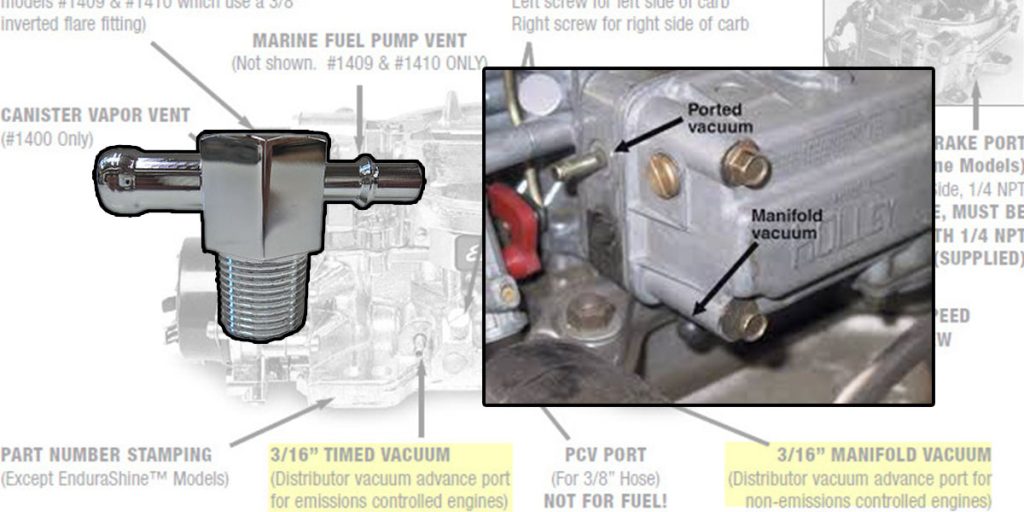
Ported vs. Manifold Vacuum for Distributor Vacuum Advance in GM Applications In the world of classic General Motors (GM) engines, proper ignition timing is needed
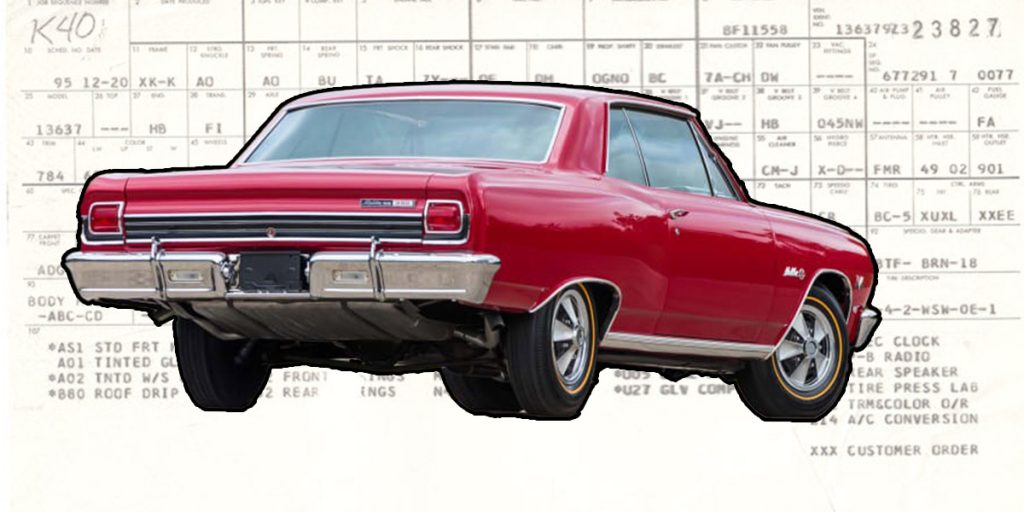
1964–1972 Chevelle RPO Codes: A Complete Breakdown If you’re restoring, decoding, or just plain geeking out over a 1964-1972 Chevrolet Chevelle, then you’re probably checking
