Converting Your Automatic To A Manual Transmission
Automatic transmissions are great – you hop in, step on the gas, and cruise till your heart’s content. However, there’s nothing quite rewarding as rowing gears on a backcountry road. There’s a sense of control you have with a manual transmission and the precision they offer. You choose what RPM to shift at, when to shift, and how to shift. When driving a classic muscle car, there really is nothing better.
Just like the saying, there are “many ways to skin a cat,” the same is true when converting from an automatic to a manual transmission. Whether you’re going from a Powerglide to a Muncie four-speed or a modern T-56 Magnum, the process is about the same.
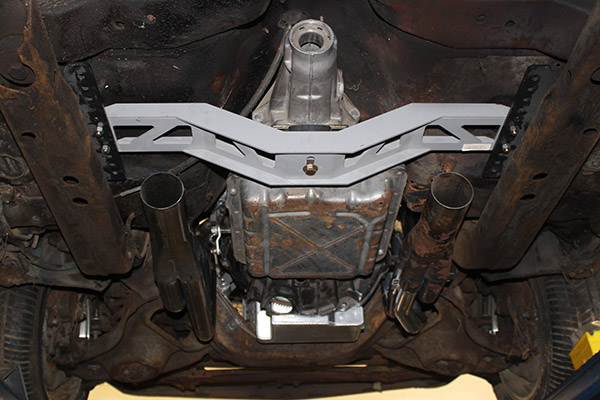
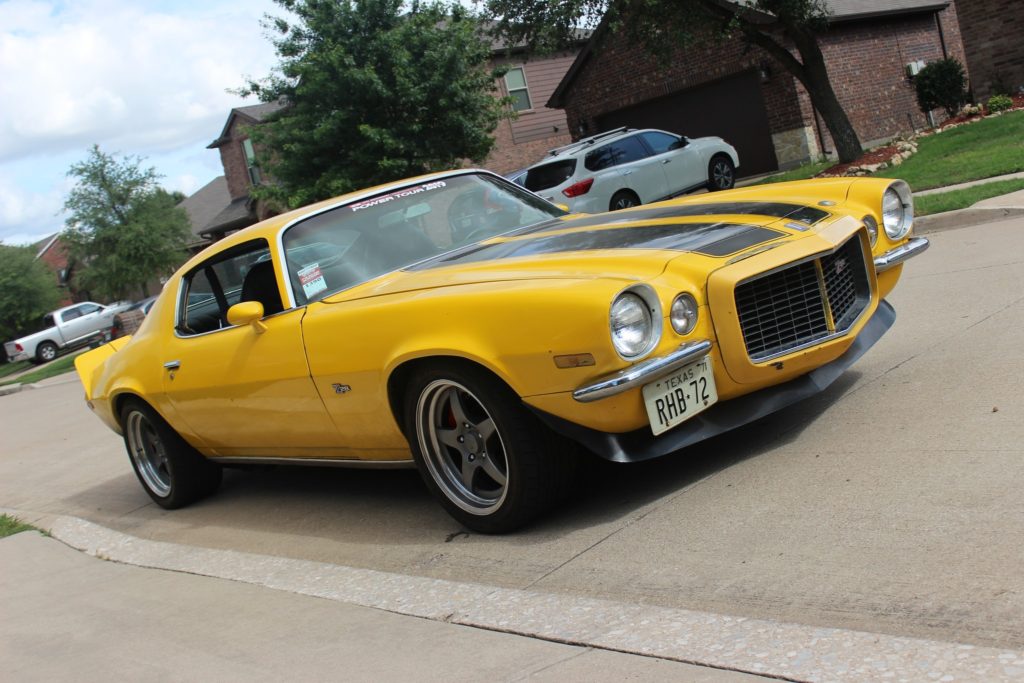
In this story, we were wrenching on a 1971 Camaro Z28. Originally this car had an SBC and auto; when it was brought back to life a modern LS engine was installed along with a modern 4L80e transmission. After putting tens of thousands of miles on it, we had the urge to row some gears and called up American Powertrain for a complete TKX swap. If you’re looking for a stock manual transmission swap, we sell kits that include almost everything you’d need, shop your car below.
As we mentioned, there are a ton of different manual transmission options out there and ten times as many ways to convert it. Here we are just going to go over the basics that are going to be universal in any car to show you what all is involved in converting from an automatic to a manual transmission.
Removing The Slushbox
First and foremost, you’re going to need a lift or to get the car off the ground a minimum of 18″ inches. Remember you need space to slide the old transmission out and the new one in. After that, disconnect the battery for safety. While not required on every car, most will require you to pull the exhaust off or at least disconnect it to make room. Also, disconnect and remove the driveshaft.
On the engine side you’ll need to remove the starter and disconnect the bolts that go from the flex plate into the torque converter. Remove the transmission dipstick along with any wires, hoses, shift linkages, or speedometer cables. Then the fun part really starts by removing the bellhousing bolts from the engine.
With the transmission fully supported on a jack, remove the cross member and lower the transmission down and out of the way. The transmission is heavy and this part is best to have a second set of hands to help so you don’t lose a finger. The last step is to unbolt the flex plate from the crank then your automatic transmission is out of the way!
Go For Manual
Before you start shoving a manual transmission back in, there are a few things to consider. If it’s a factory four-speed then it should bolt-up without modification. If it’s a modern five or six-speed there’s a chance you’ll have to modify the transmission tunnel to fit the larger-than-stock transmission. The best bet is to bolt up the bell housing without a clutch and bolt the trans up to see what kind of clearance you have. This will also give you the opportunity to see where the shifter will come through the floor if it isn’t in the stock location.
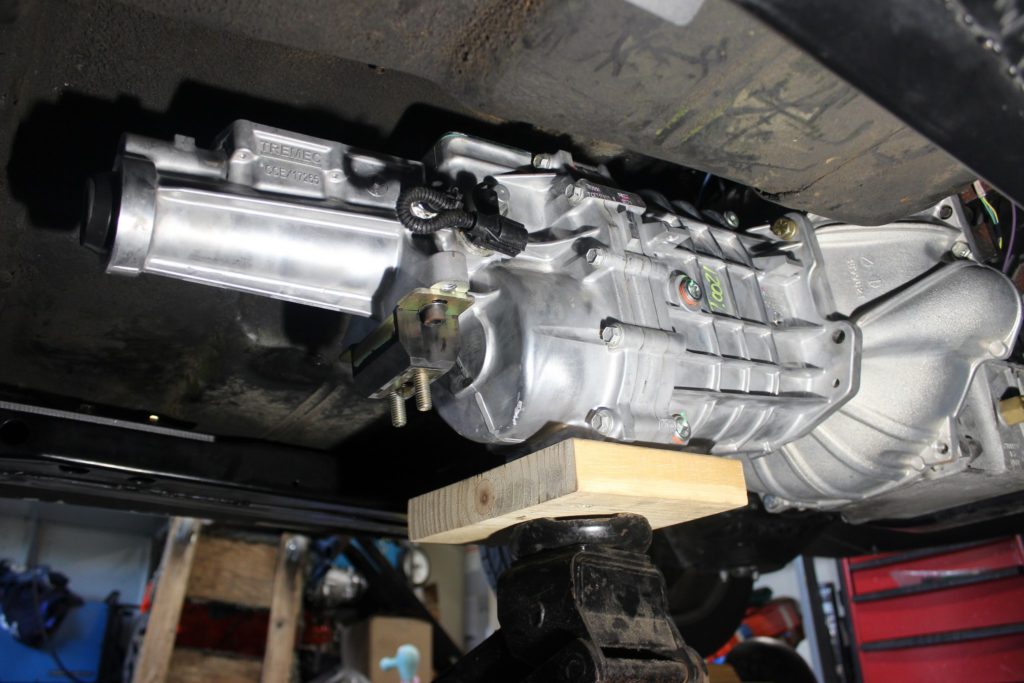
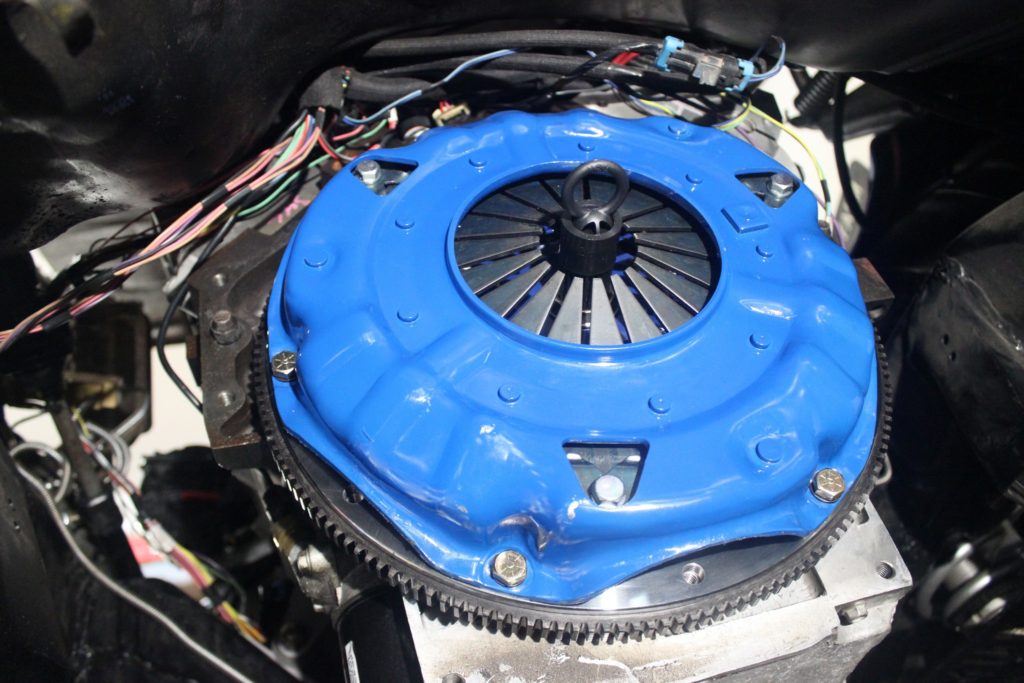
After removing the trans and making any modifications, you’ll first need to bolt up the flywheel to the crank and properly torque it down. After cleaning the flywheel to remove any oils and residues, install the clutch and torque it down. At this point, you can install the bell housing and properly torque it down.
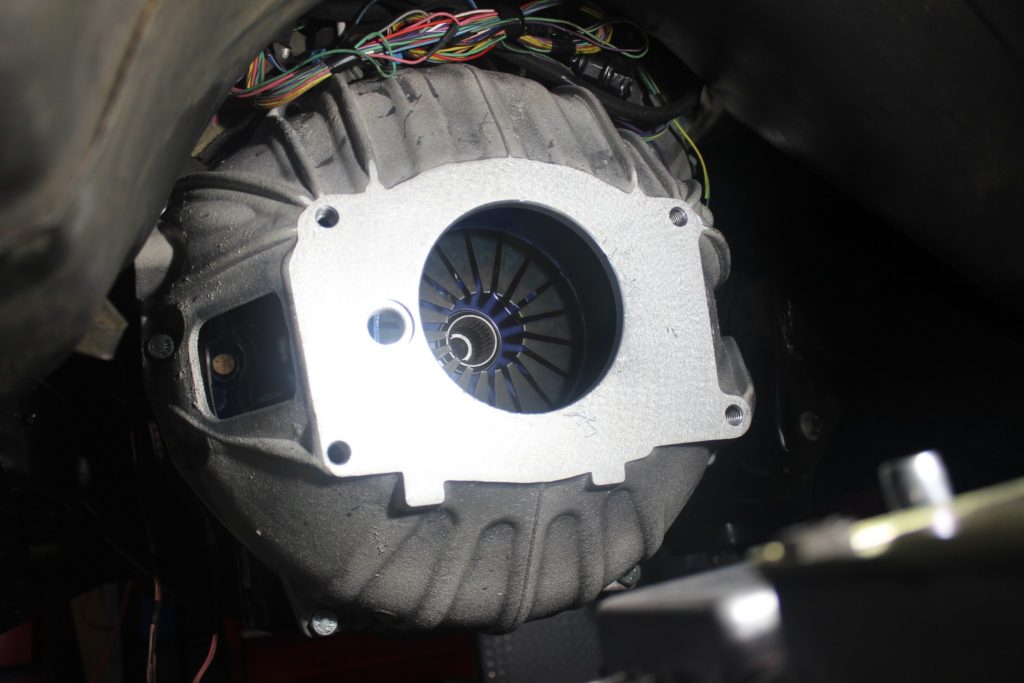
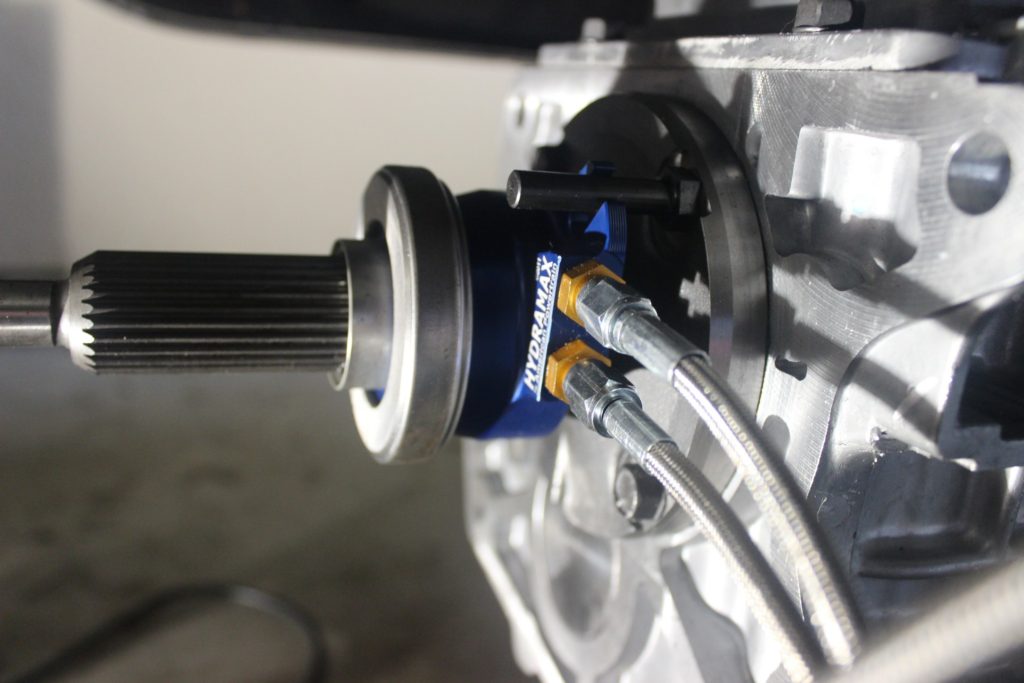
Before you go bolting up the transmission, this point is usually a critical point when you’ll measure your throwout bearing clearances and add shims accordingly. Make sure to take the time to do this and go off the manufactures suggesting fitment or you could run into serious issues once the car is on the road.
Lift And Stick
Now the hardest part of the job, lifting the new transmission up into place, lining up the input shaft, and sliding it together. This is a delicate part yet very hard with a heavy transmission. Make sure to have some help during this part. Once you get it in, bolt the transmission to the bell housing. Before you can drop the jack you’ll need to install a manual transmission cross member or move the automatic one to fit.
Most likely, you’ll need to extend or shorten your driveshaft. You can measure now for a new driveshaft to have yours modified and then install the driveshaft. On the bottom of the car, you’ll need to install your reverse lights, speedometer cable or wires, and exhaust.
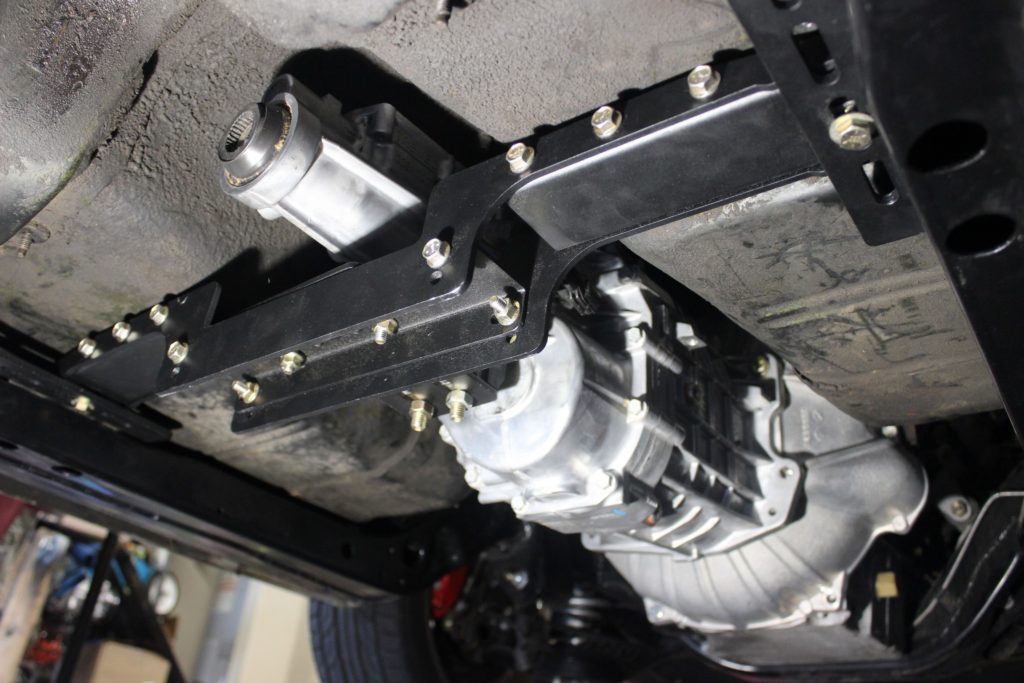
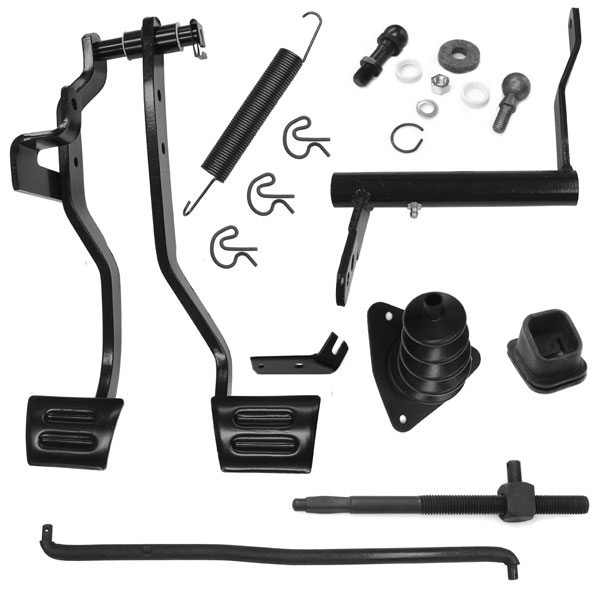
Back on the top side, you’ll need to get rid of the automatic brake pedal and install a set of clutch and brake pedals. This is done by removing a clip, removing the clevis from the brake pedal, then sliding the pedal out of the bracket. Reverse the process for the new setup and prepare to install the clutch linkage.
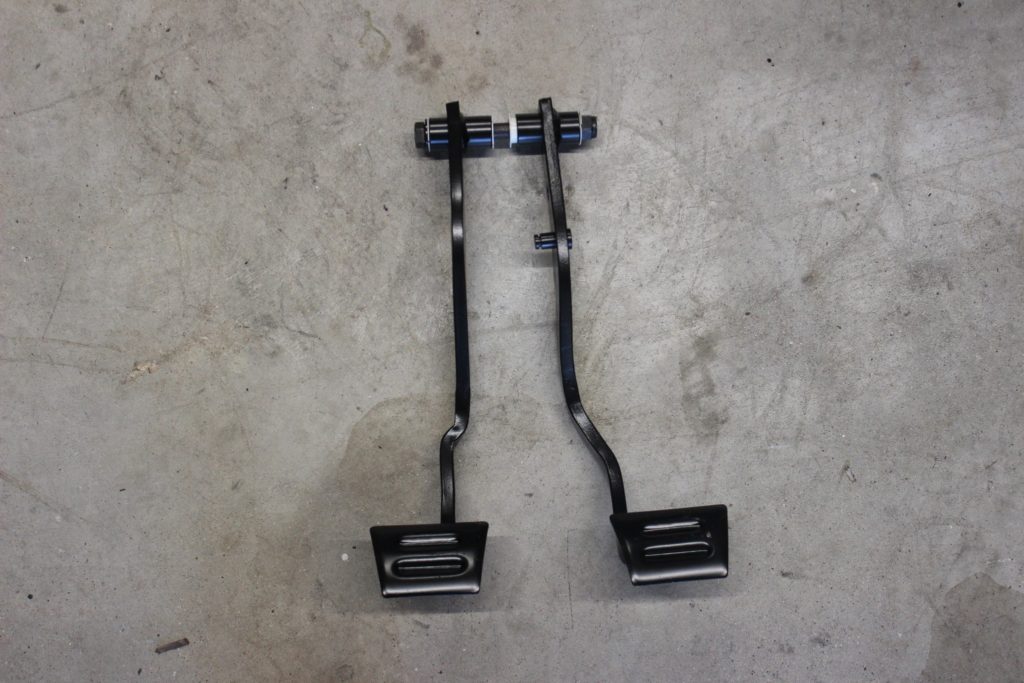
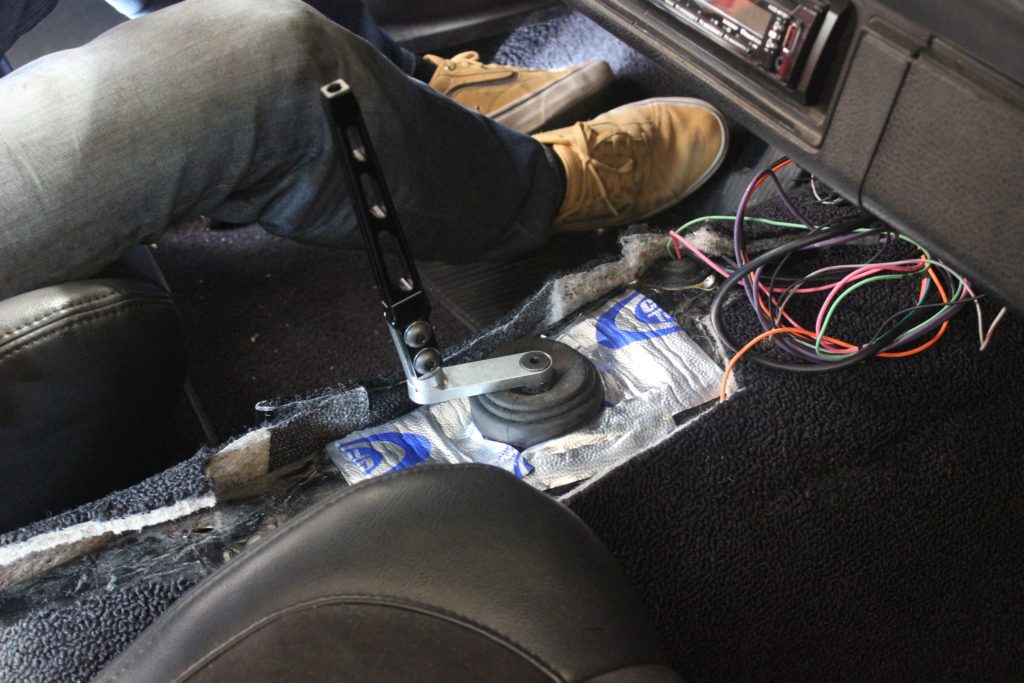
There are two types of linkage, the factory original mechanical linkage or you can upgrade to a modern hydraulic throw out. Either one works but the hydraulic is like going from drum brakes to disc brakes – it’s smoother, less effort, and has no creaks.
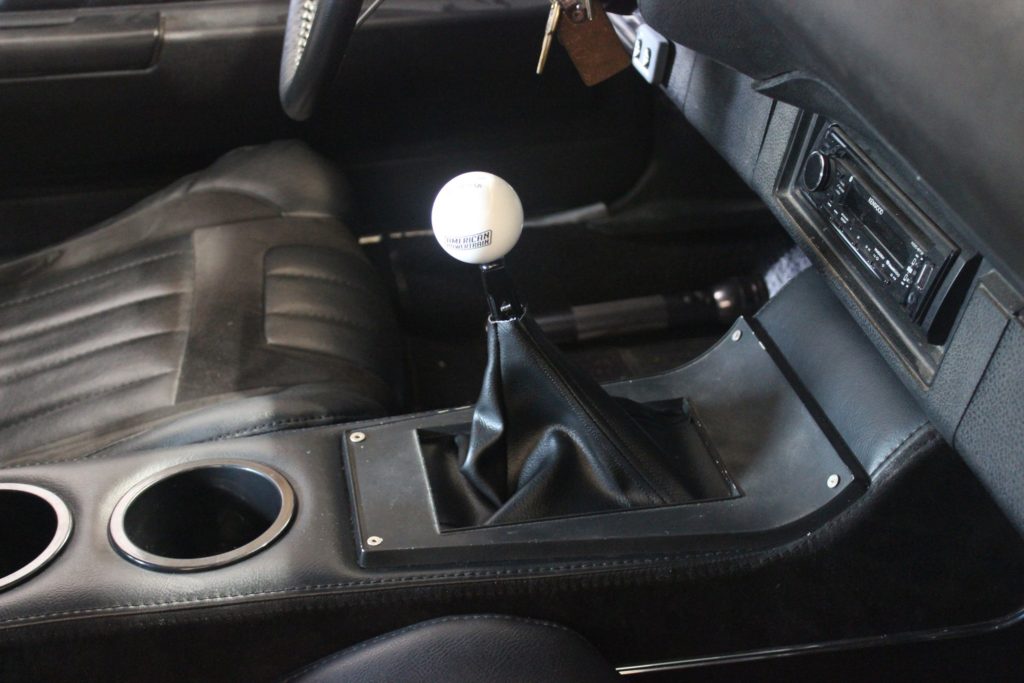
While on top you’ll need to install a Neutral Safety Switch(NSS) to your clutch pedal and connect your backup lights as well. One of the last steps is to install a shifter to the transmission, then reconnect the battery.
Before dumping the clutch for your first smokey burnout, be sure to put several hundred break-in miles on the clutch. This allows the clutch disc to bed properly with the pressure plate and flywheel. Failure to do so can and will shorten the life of your clutch. As always, feel free to reach out for any parts you might need to complete the conversion or for any questions by calling us at (866) 358-2277!

