First Gen Camaro and Firebird Window Weatherstrip Install
When building a car, there’s usually numerous ways to accomplish the same task such as installing the window weatherstrip. Everybody has their method that they came up with, or what they were taught. And sometimes there are ways to ‘cut corners’ whether you mean to or not.
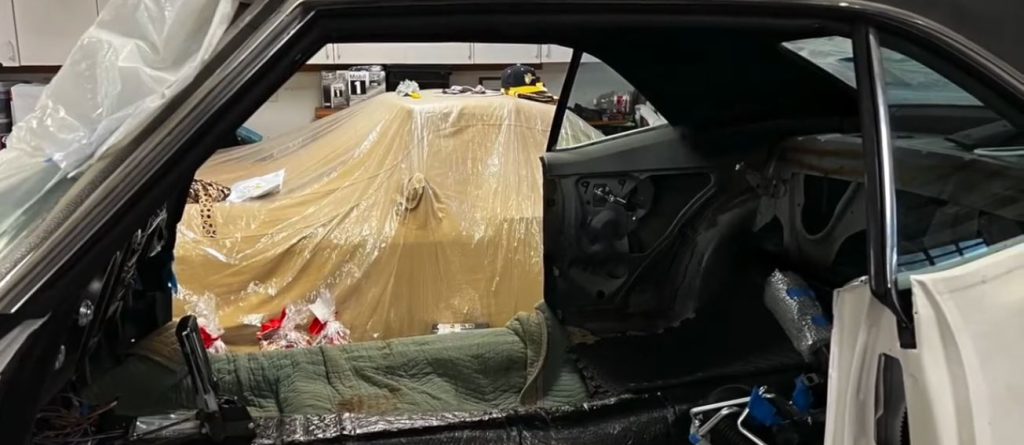
Even with something as simple as the roof rail weatherstripping you can do it wrong or right. The wrong way is to just slap it in there and call it good as it does ‘hook’ into the channel a bit. But if you want it to not leak, and work flawlessly for years to come, then read on.
https://www.youtube.com/watch?v=Uyqq-NvTYeM
Prepping For Install
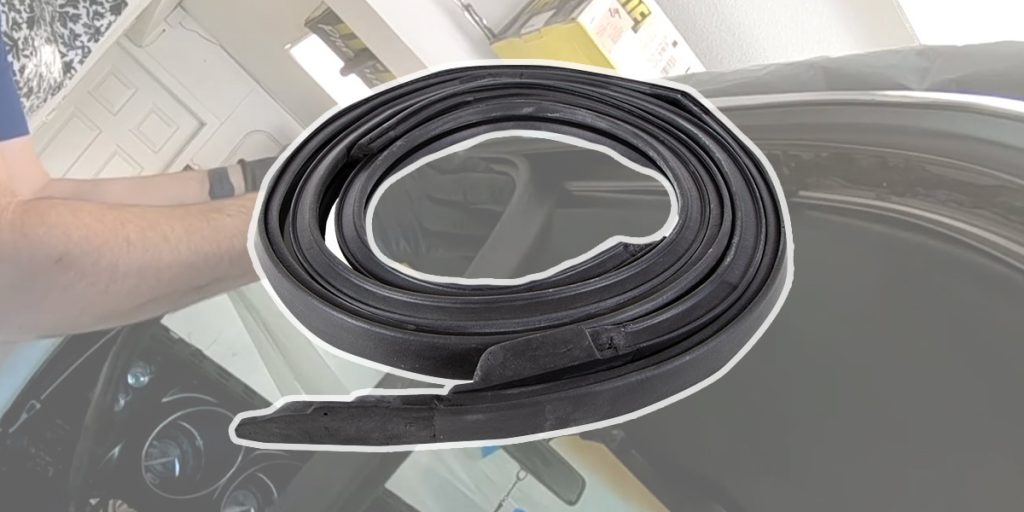
The channel itself is a small ‘C’ shaped channel that the weatherstrip seal sits in. This channel is made of stainless steel, so usually just hitting them with a quick buff job is all you need.
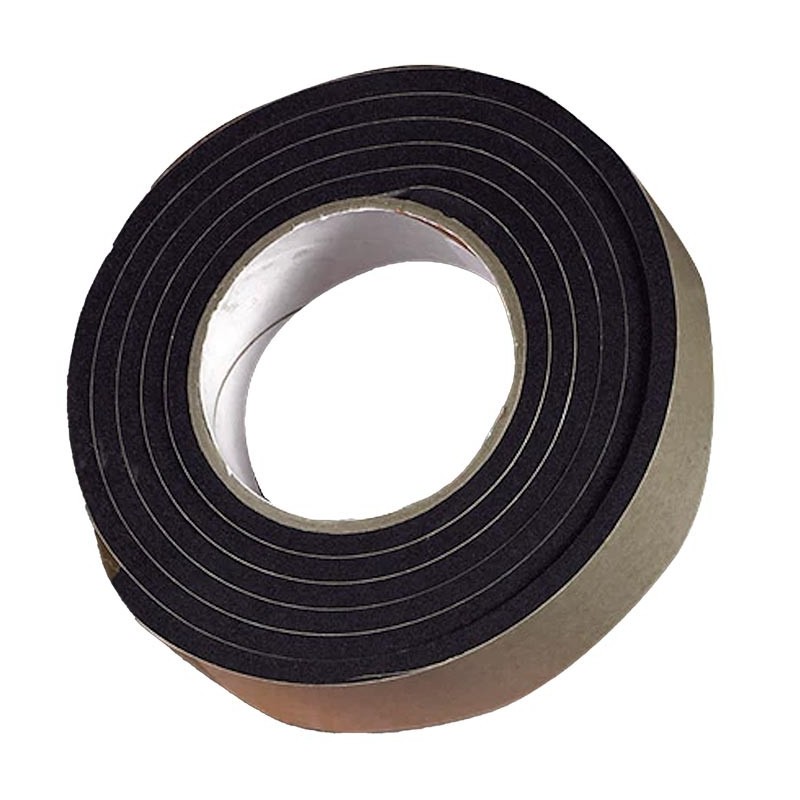
These mount to the body with panhead screws and there is a small gasket that goes between them and the body, which you can find here.
Tools and Parts
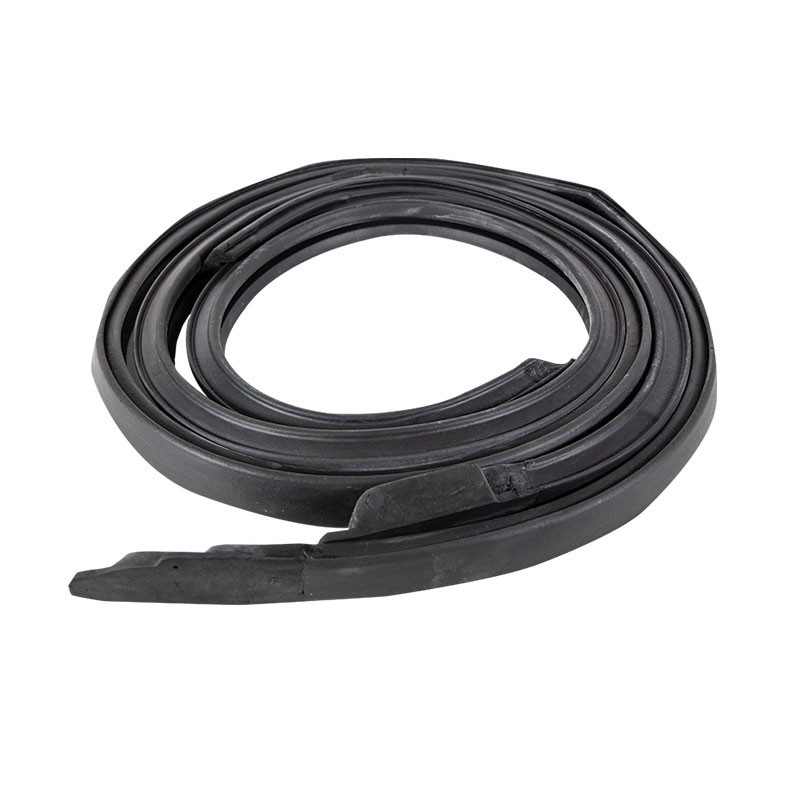
The most important and obvious piece you’ll need is the weatherstrip seal itself! We carry these too, sold as a set. But there are a few other items you’ll want that might not be so obvious.
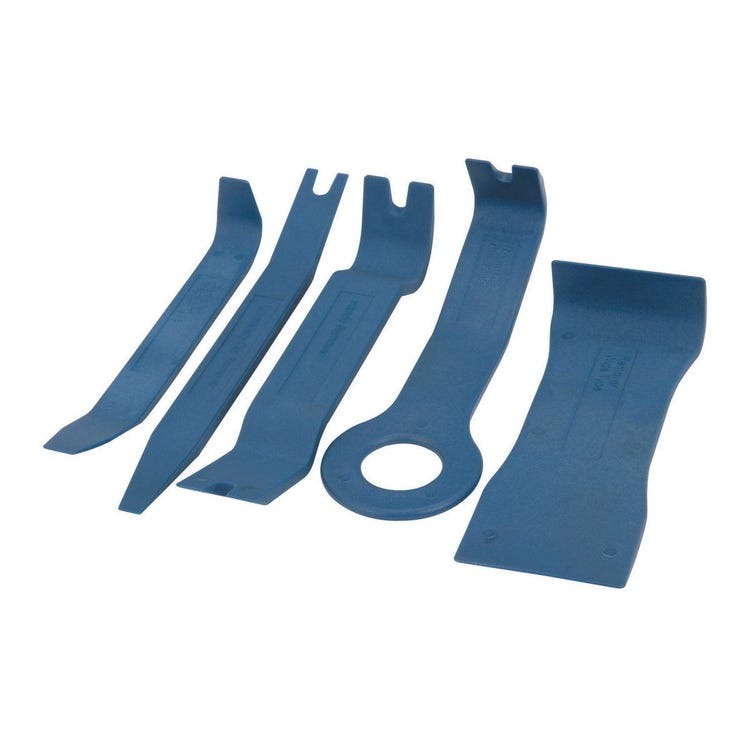
Plastic Trim Tools: These can be picked up cheap from Harbor Freight and are great for prying, poking and prodding things along without tearing them up.
3M Black Weatherstrip Adhesive: This is the best you can use to provide a leak-free seal that will last for years and years.
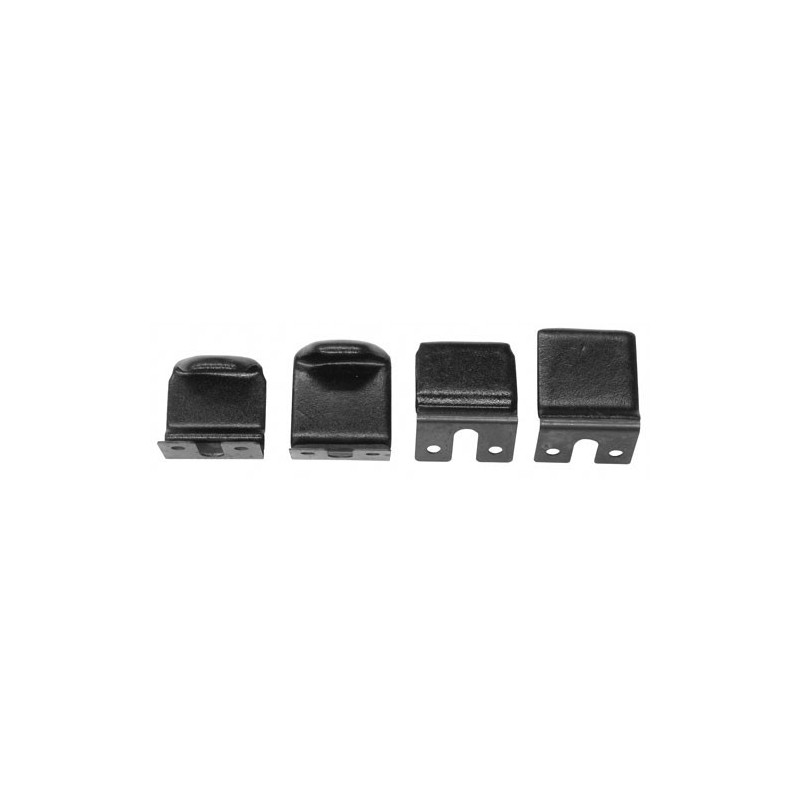
Roof Rail Blowout Clips: If yours are in bad shape or missing, now is the time to replace them.
Installing The Weatherstripping
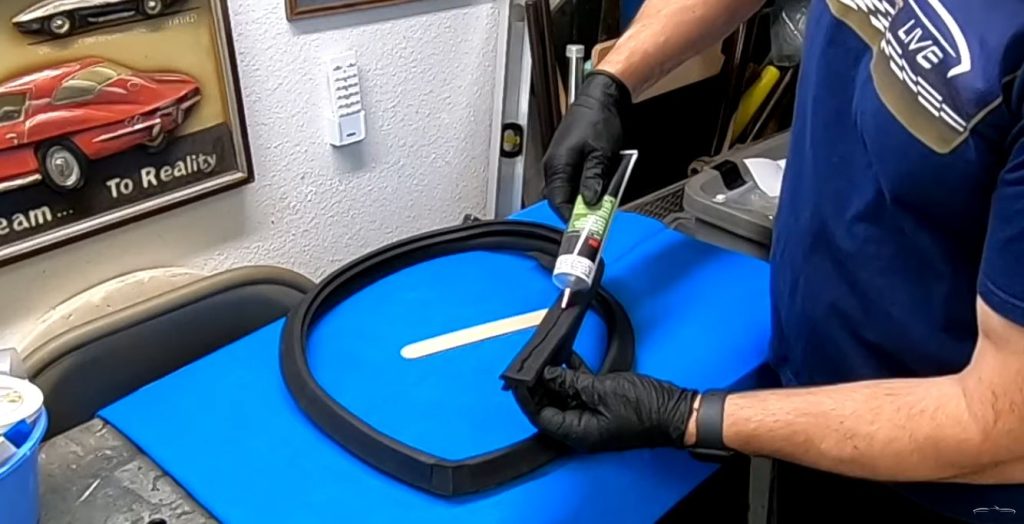
Once you have your trim and clips installed, it’s time to install the actual weatherstripping. Now before you go and slap it in there, you need to apply the 3M weatherstrip adhesive. This adhesive is like contact cement, where you apply it, let it dry, then you stick your parts together.
You’ll want to apply a bead and spread it out on the channel itself, then onto the weatherstripping itself. Let them dry/tack up before installing. Unfortunately it can be a messy process so it might help to have an extra set of hands.
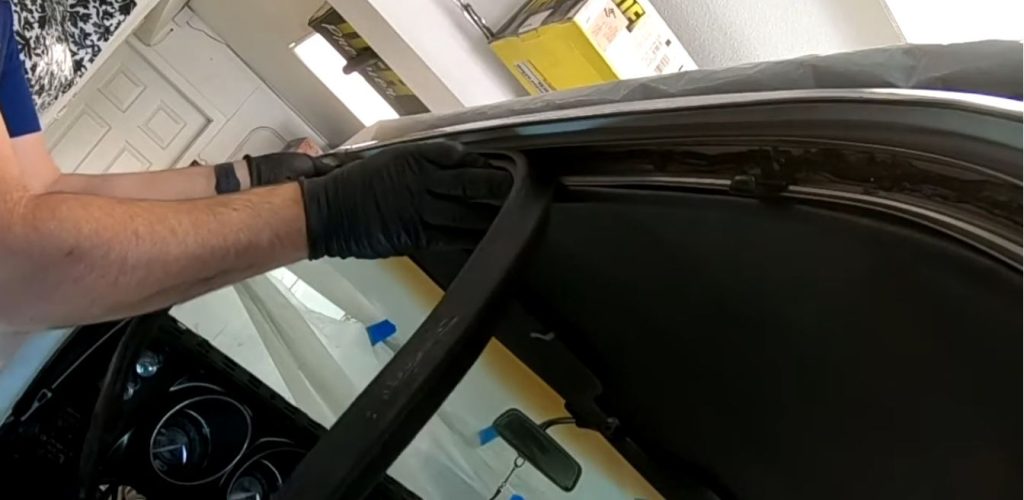
Using your plastic trim tools, push the weatherstrip into the channel to lock it into place. To make it easy, start at the ‘corner’ where the A-Pillar meets the roof. Remember your blow-out clips that will help hold it while you’re working the rest into place.
Take your time and don’t rush the process. Once the weatherstripping is fully pushed into place, you’ll then install the plastic push pins that hold the ends in place by the A-Pillar.
If you get stuck and need some help, or are looking to pick up all the parts to replace your weatherstripping, hop on SS396.com or give our friendly techs a call at (203) 235-1200!